Photo of similar plane.

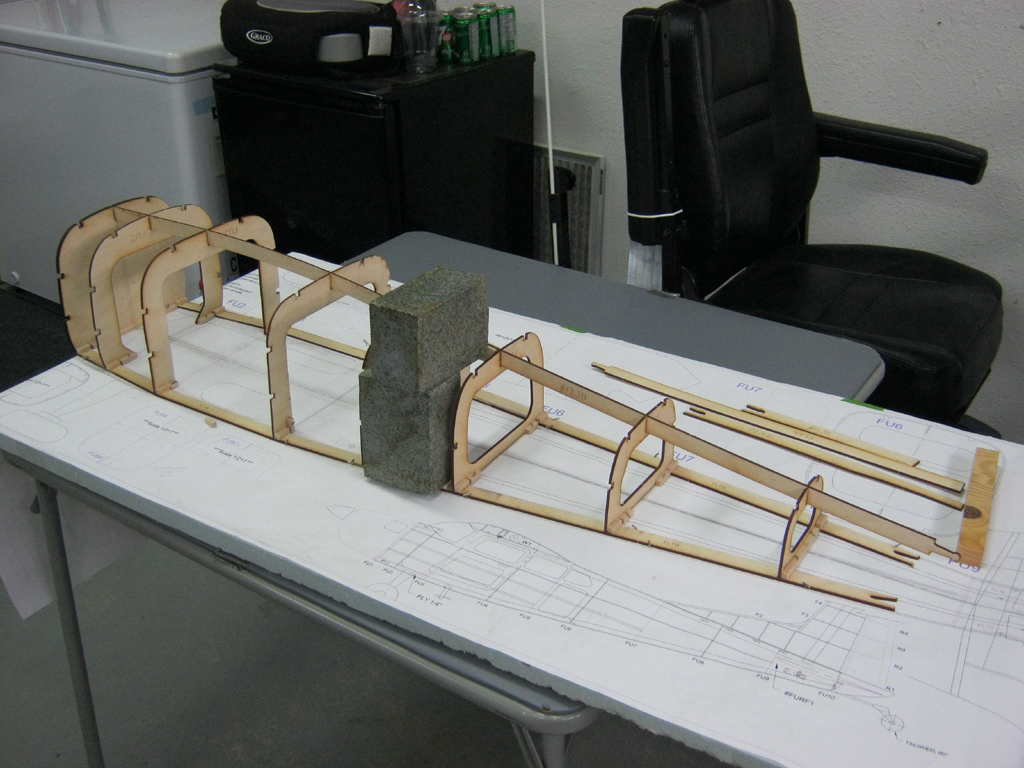
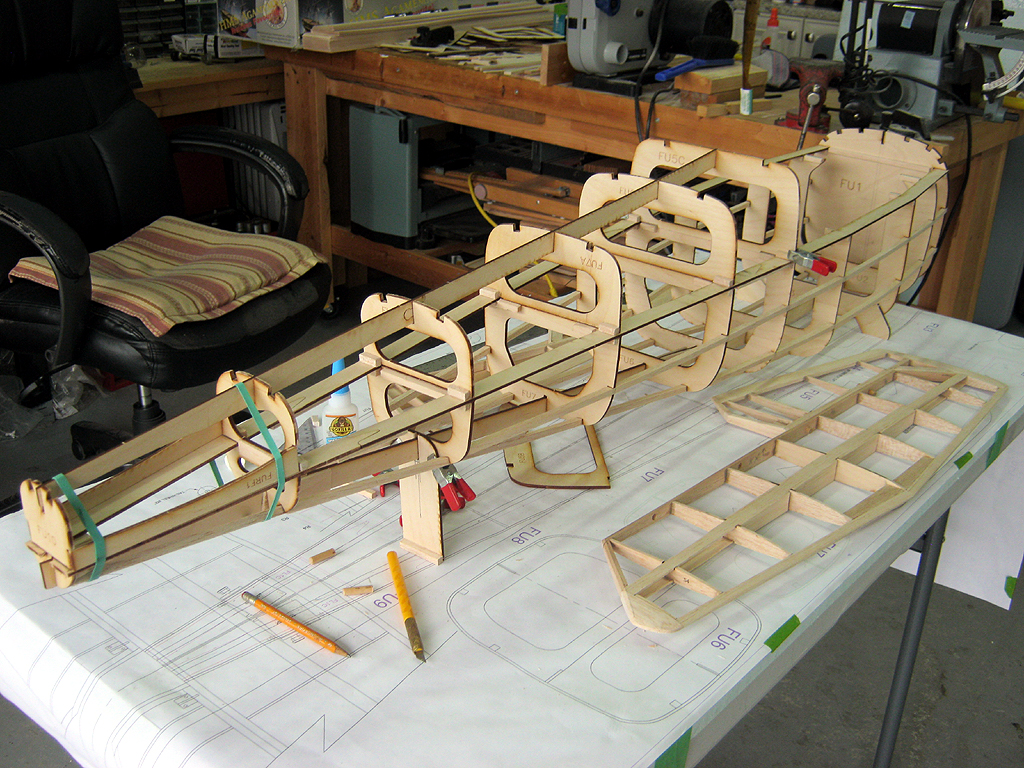
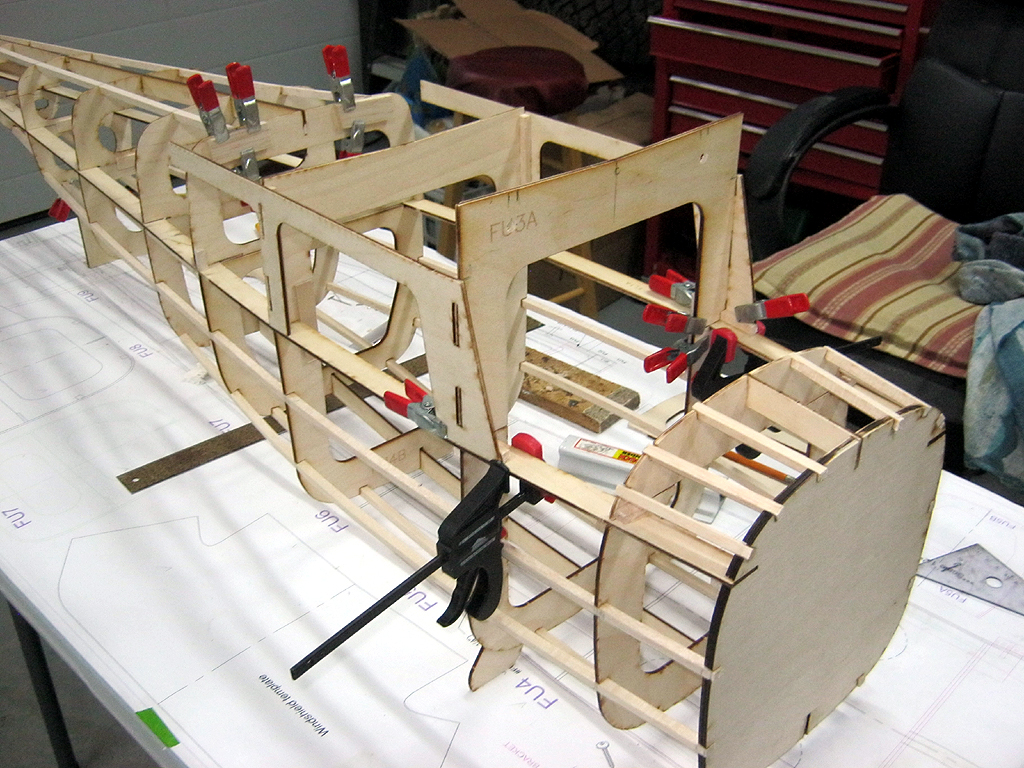
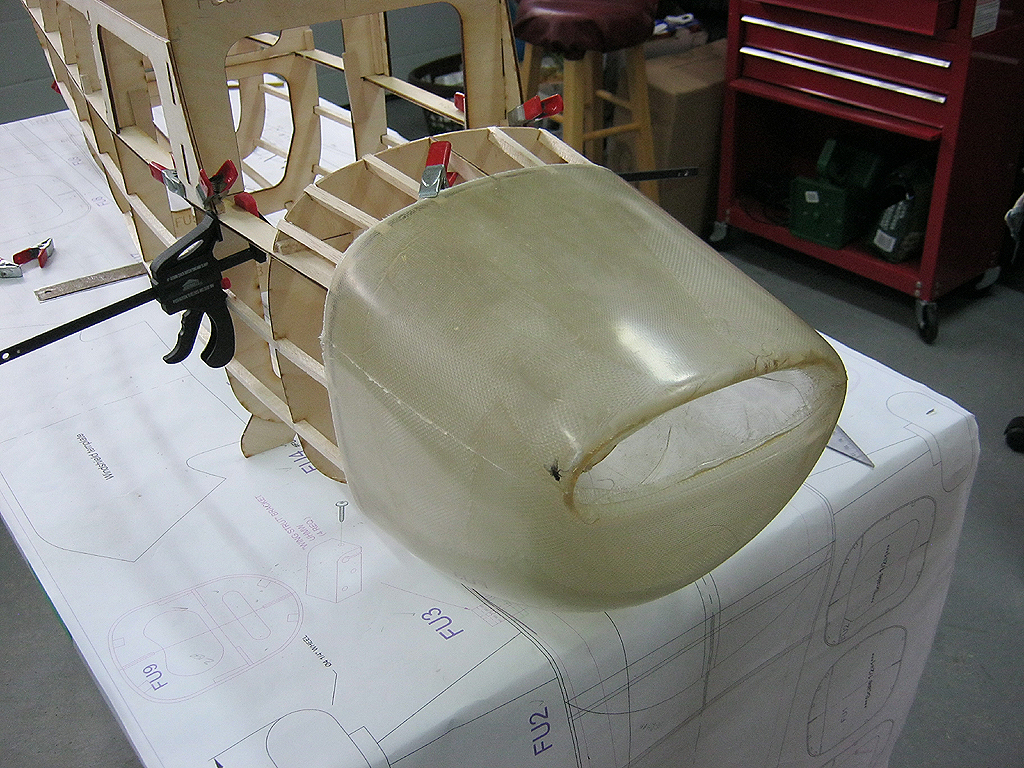
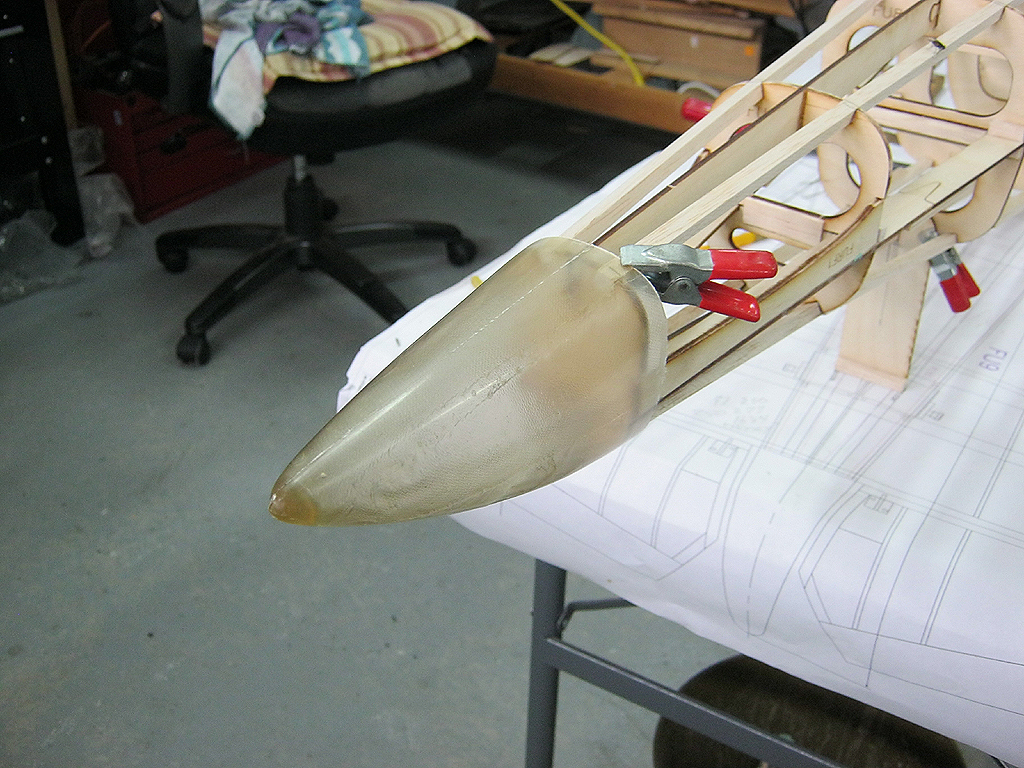
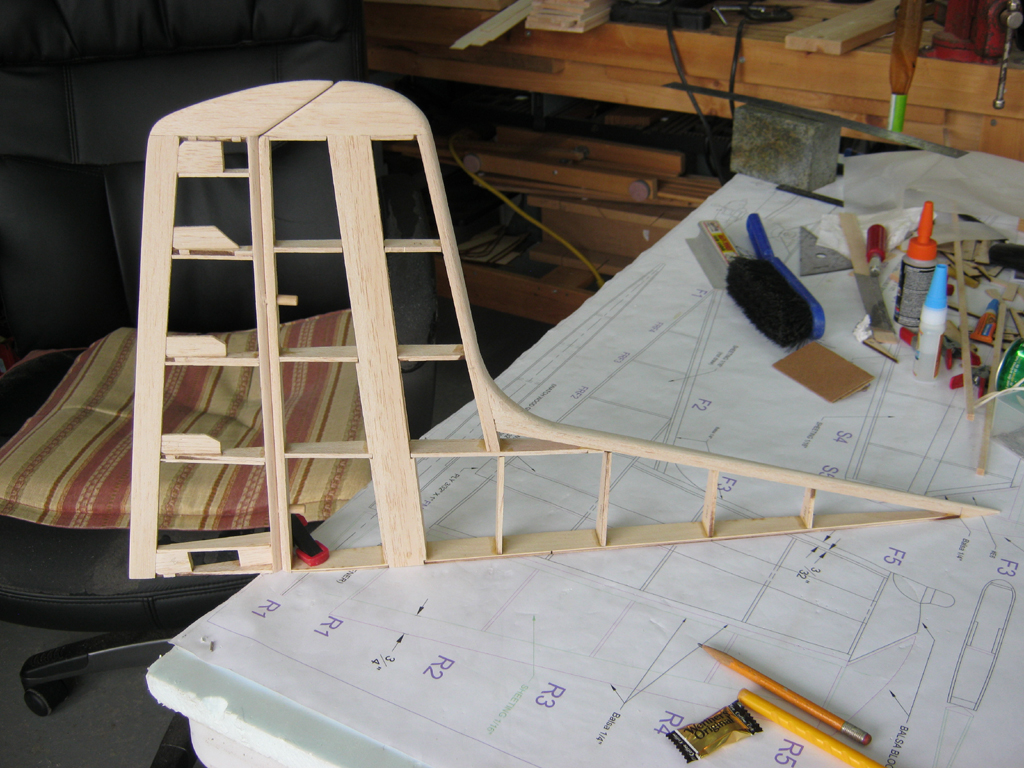
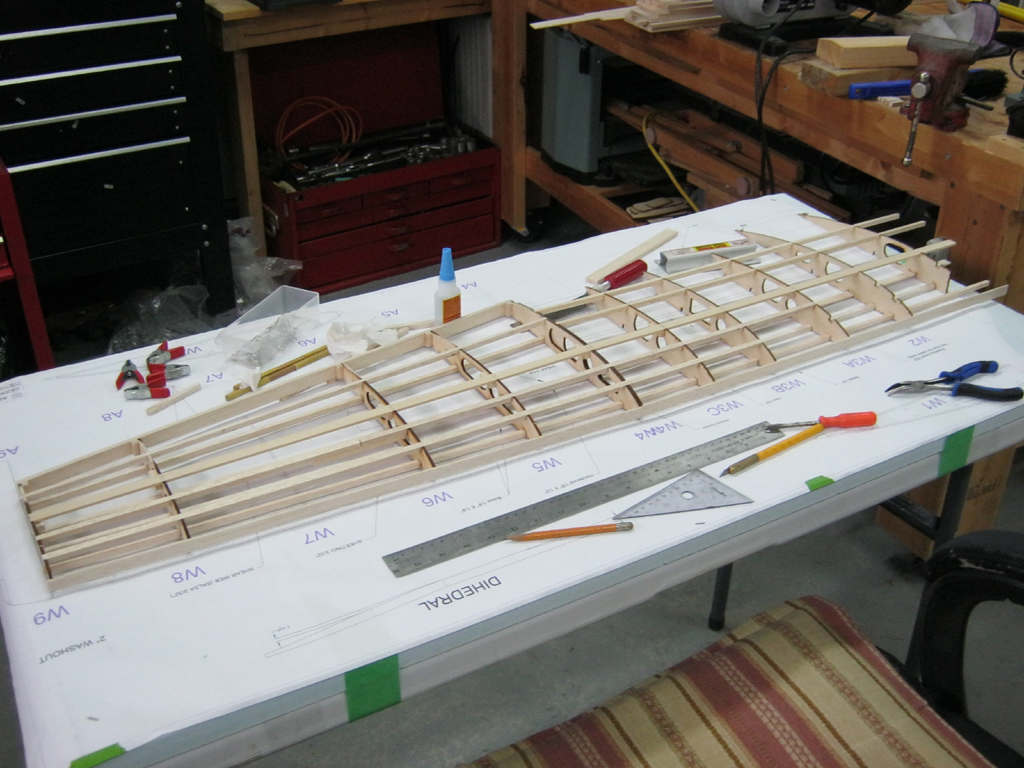
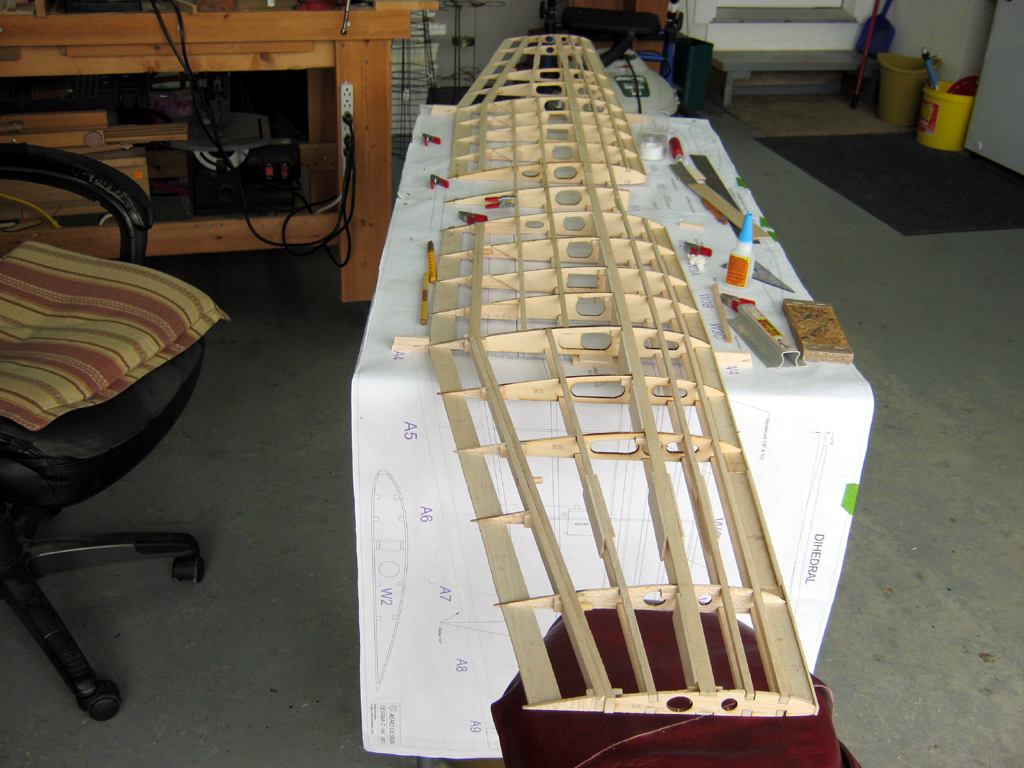
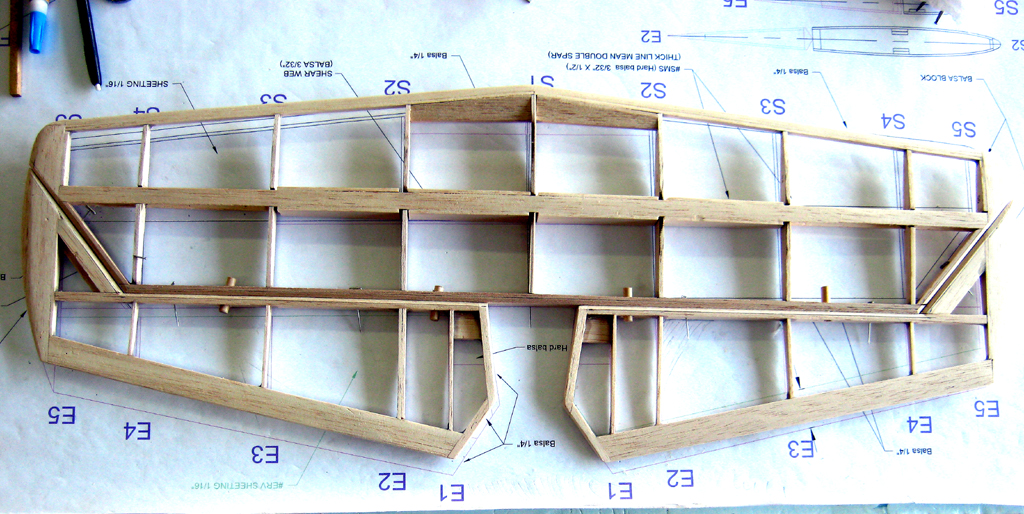
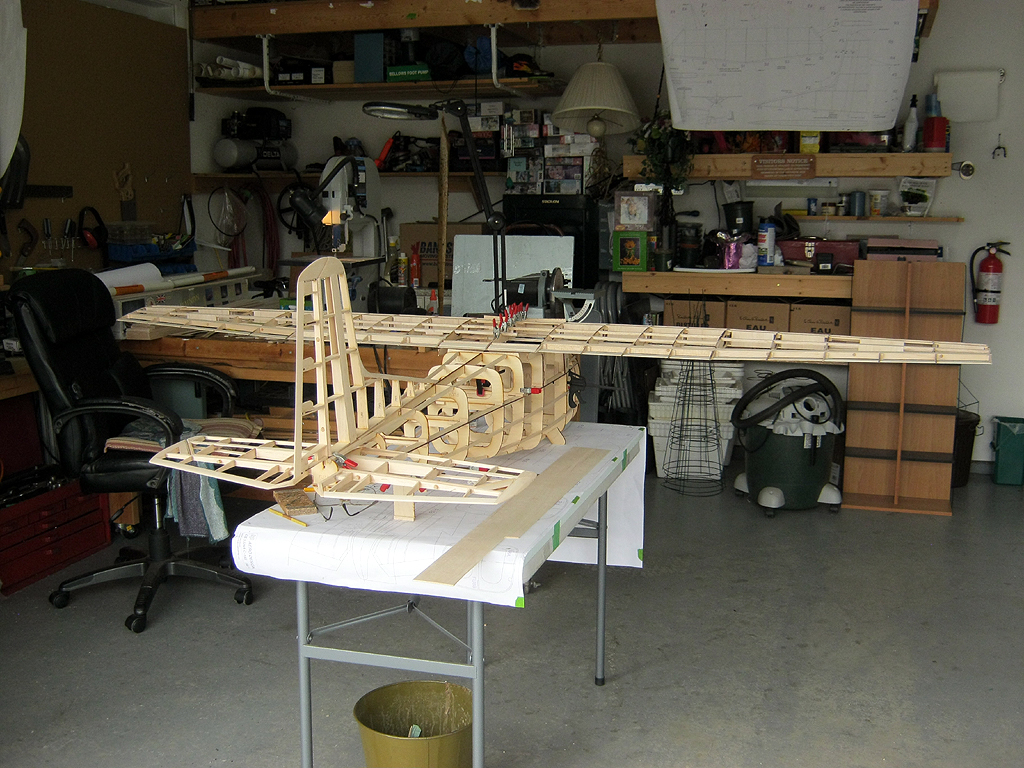
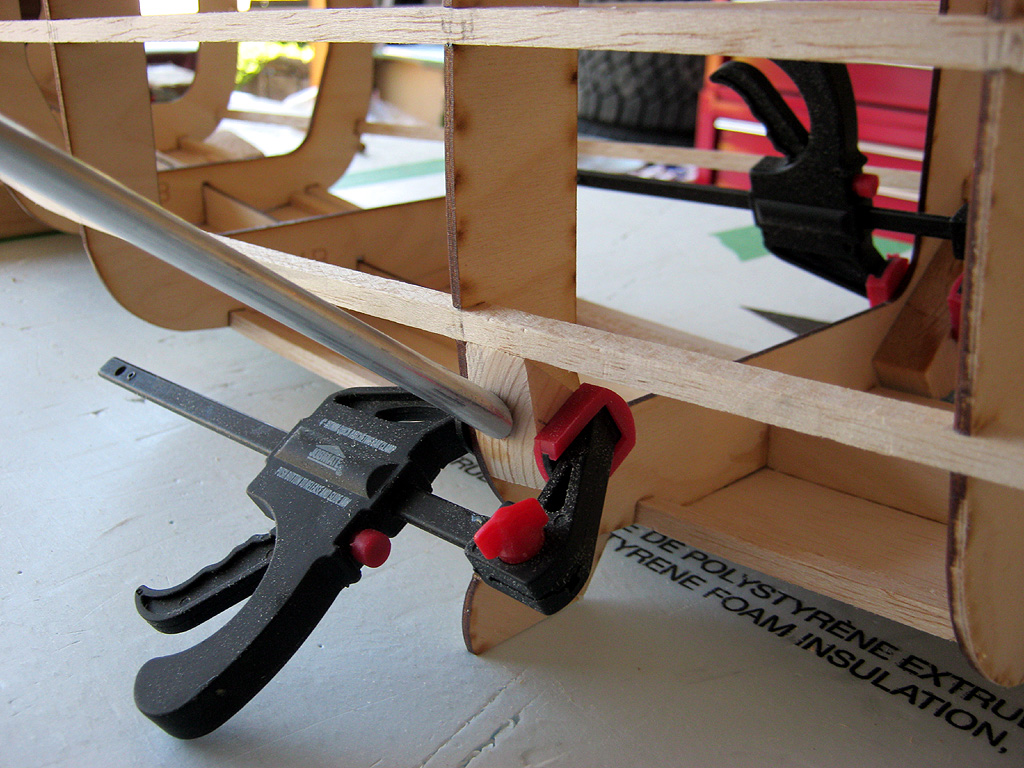
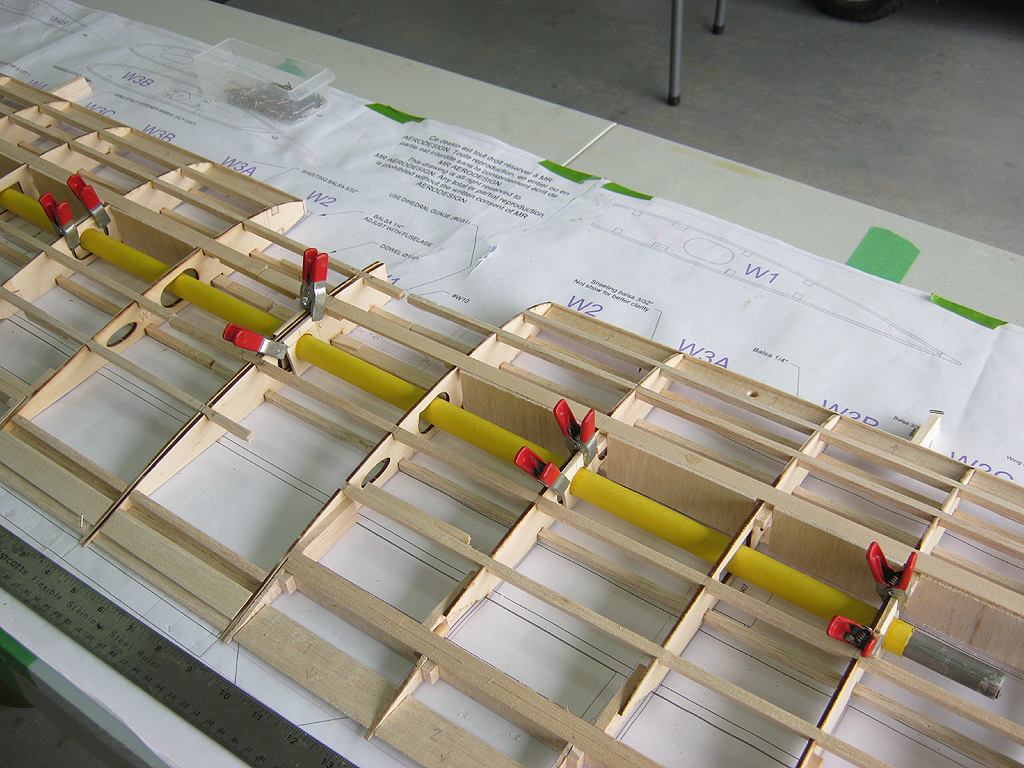
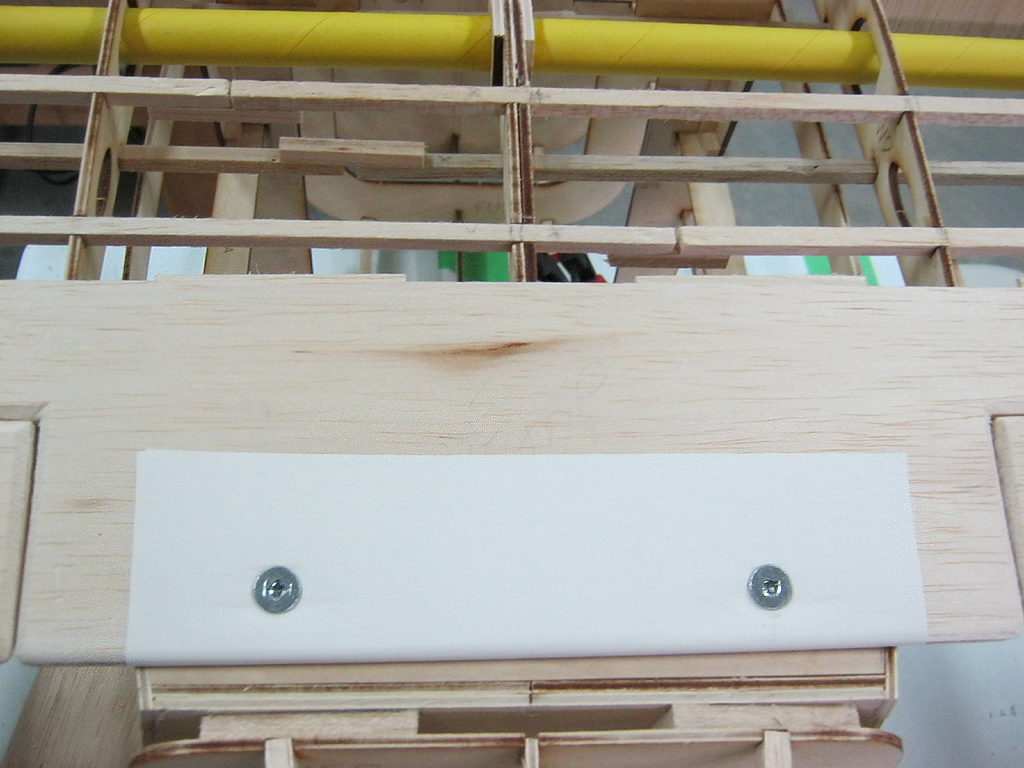
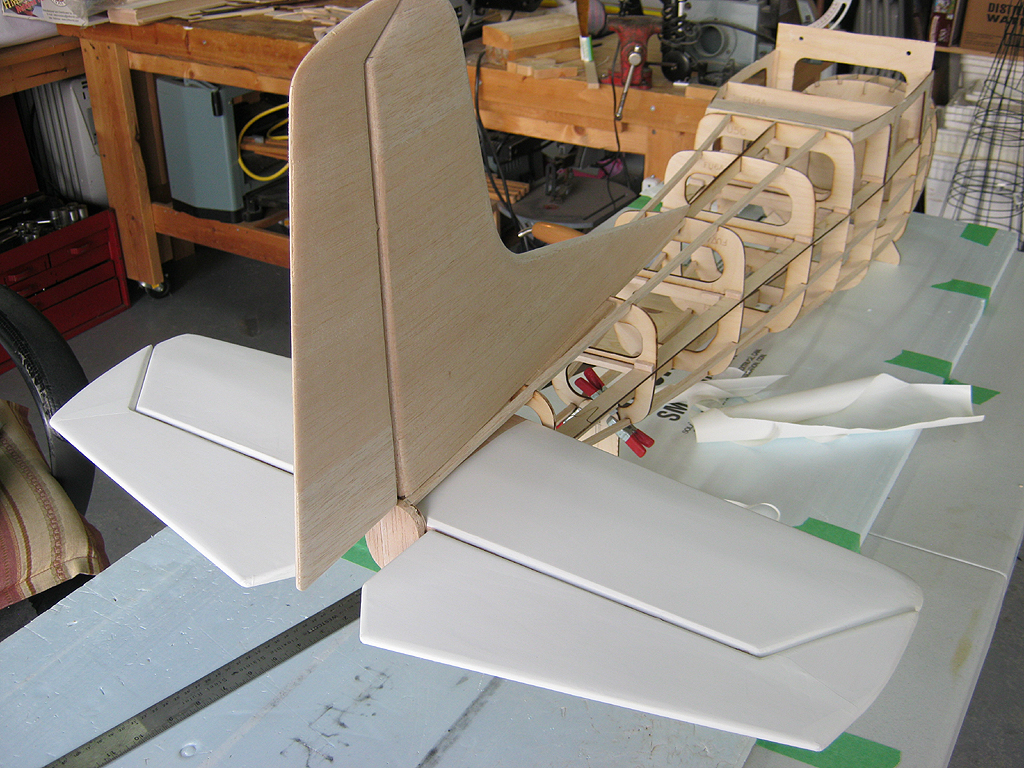
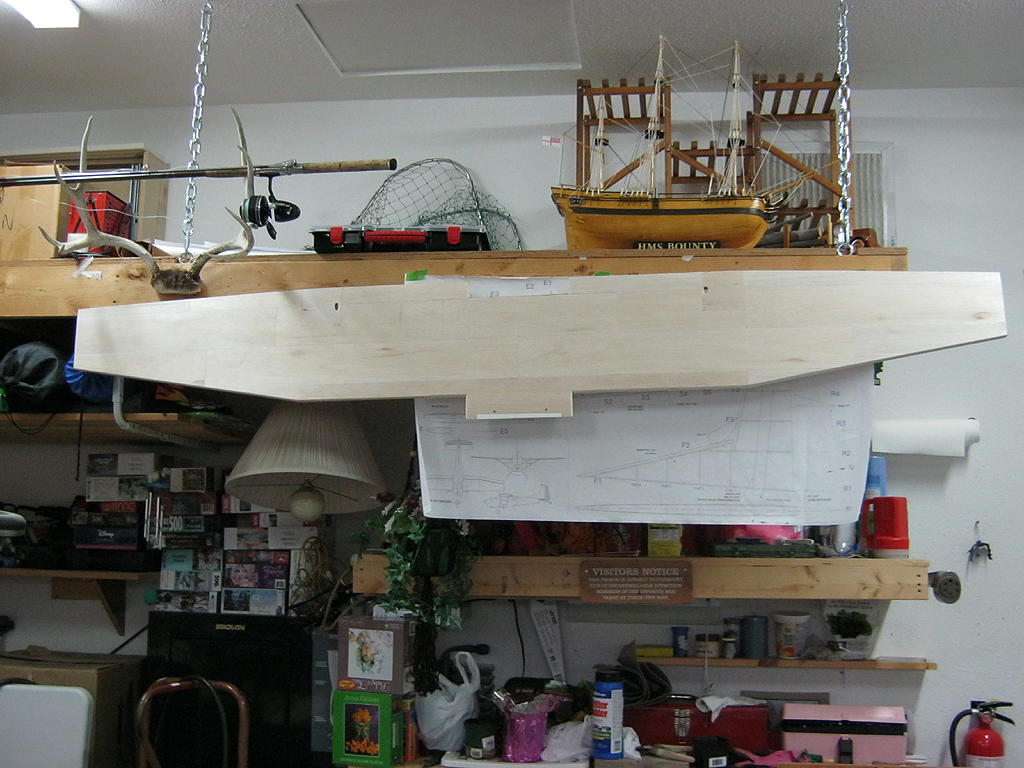
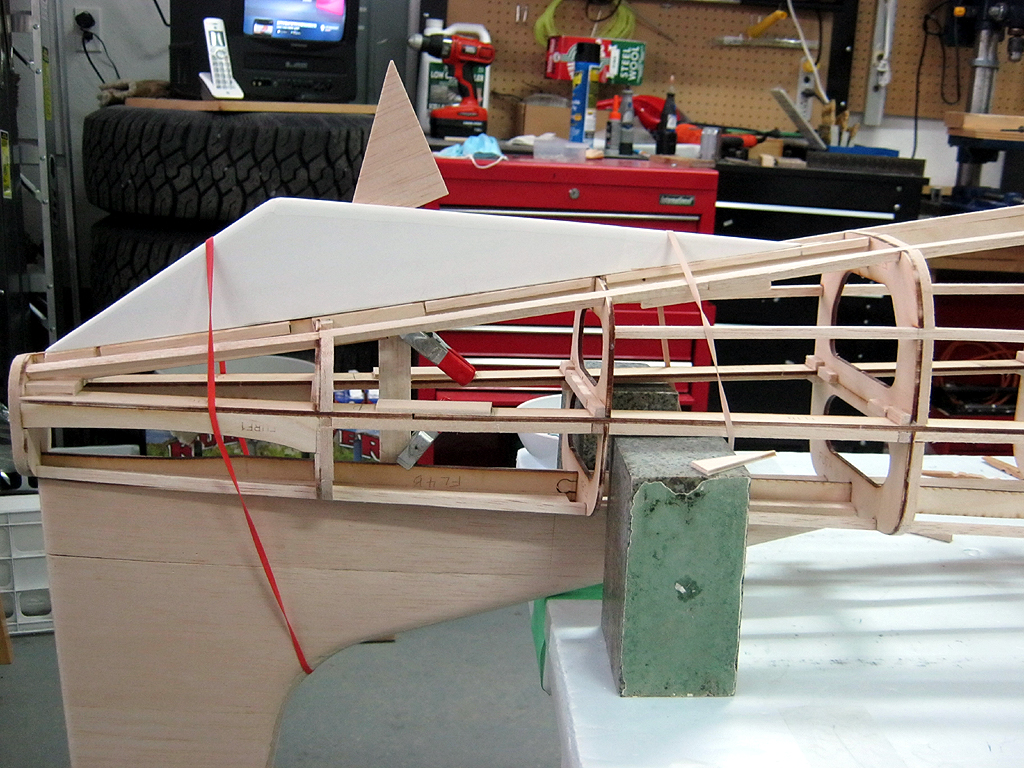
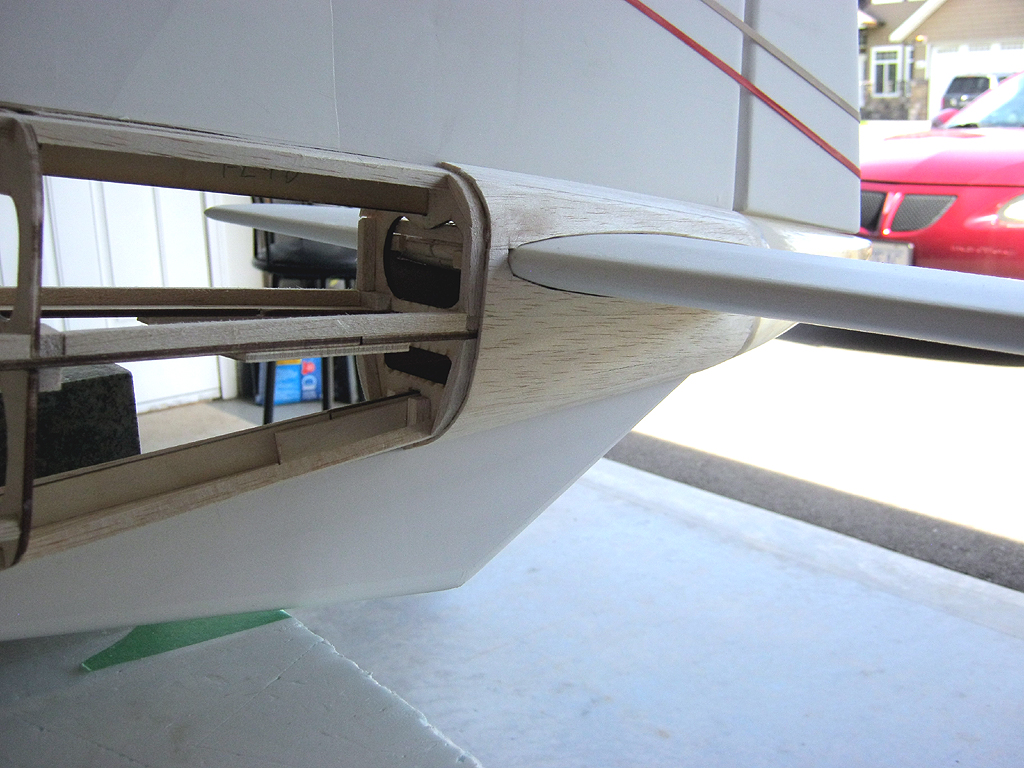
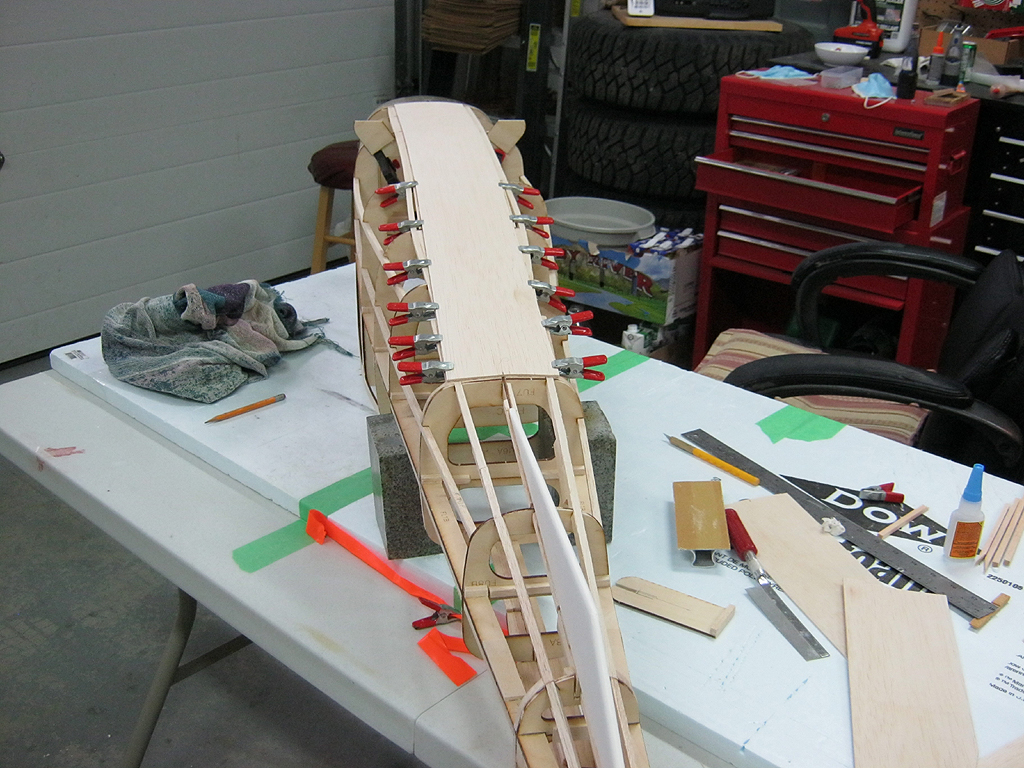
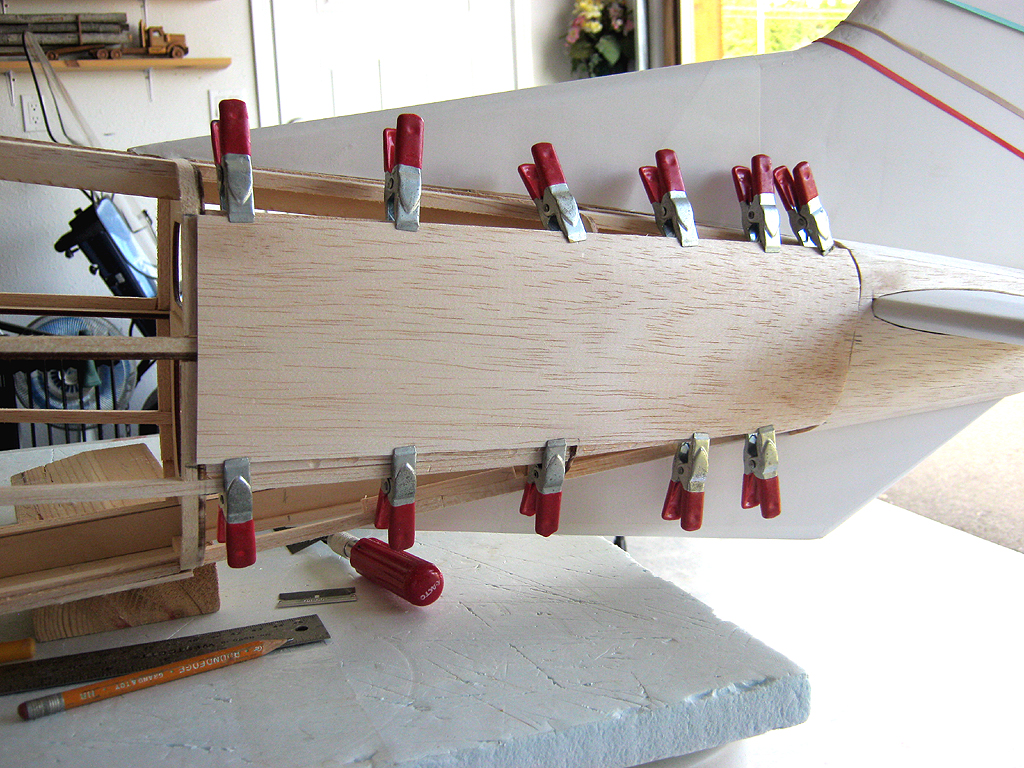
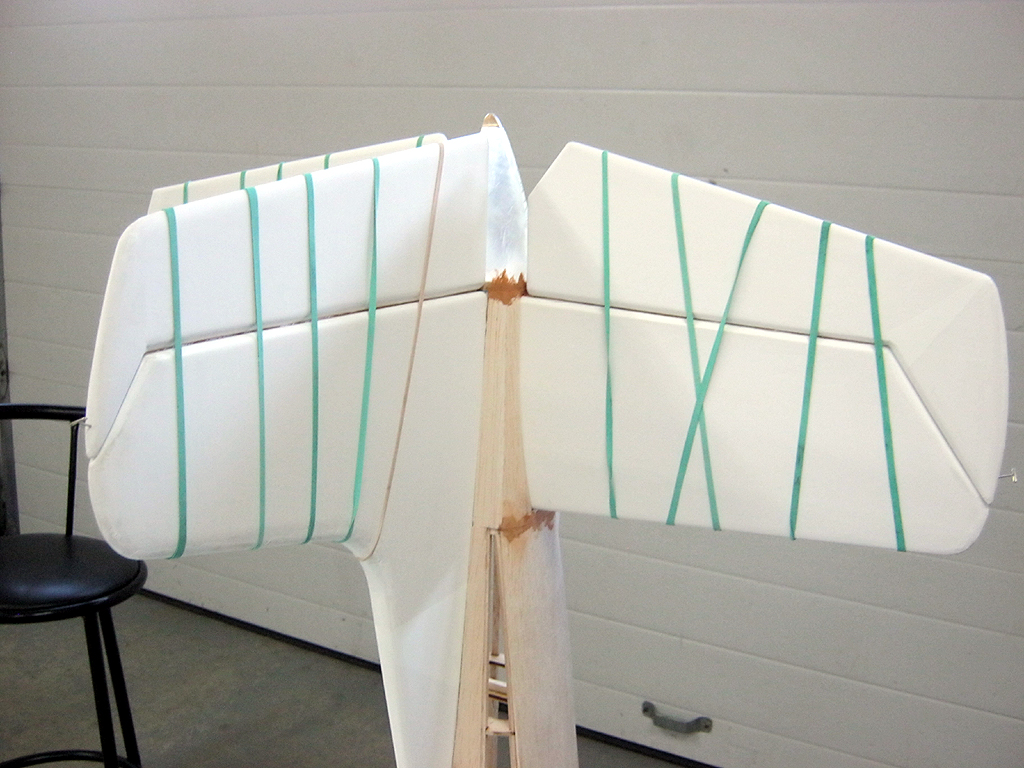
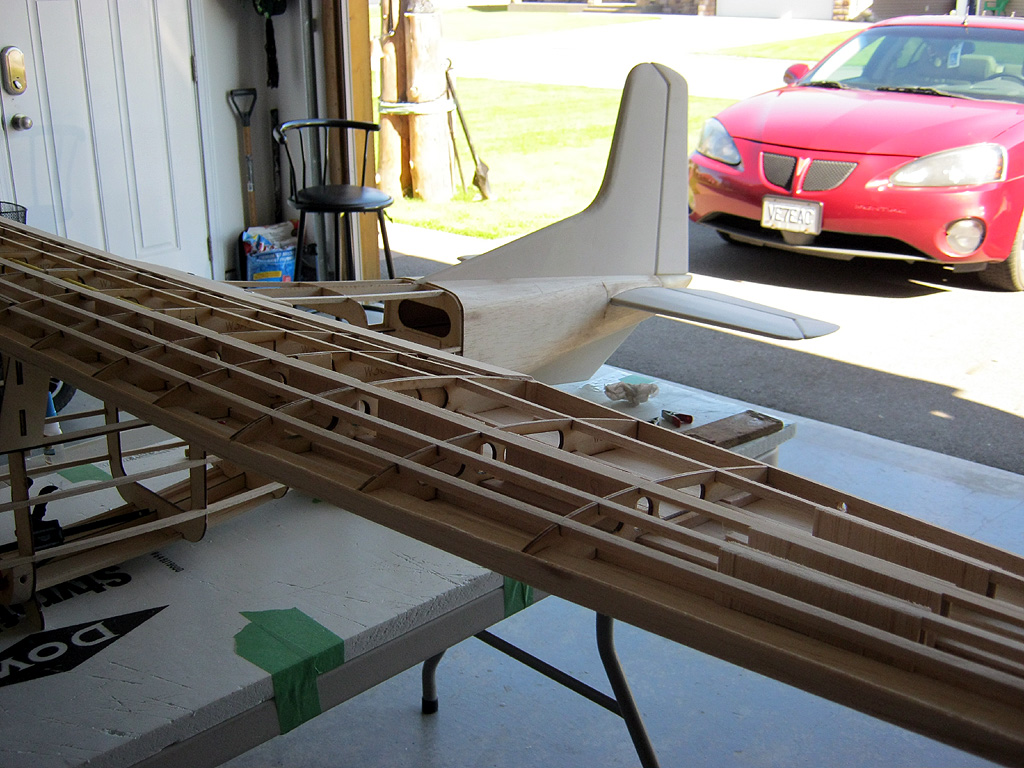
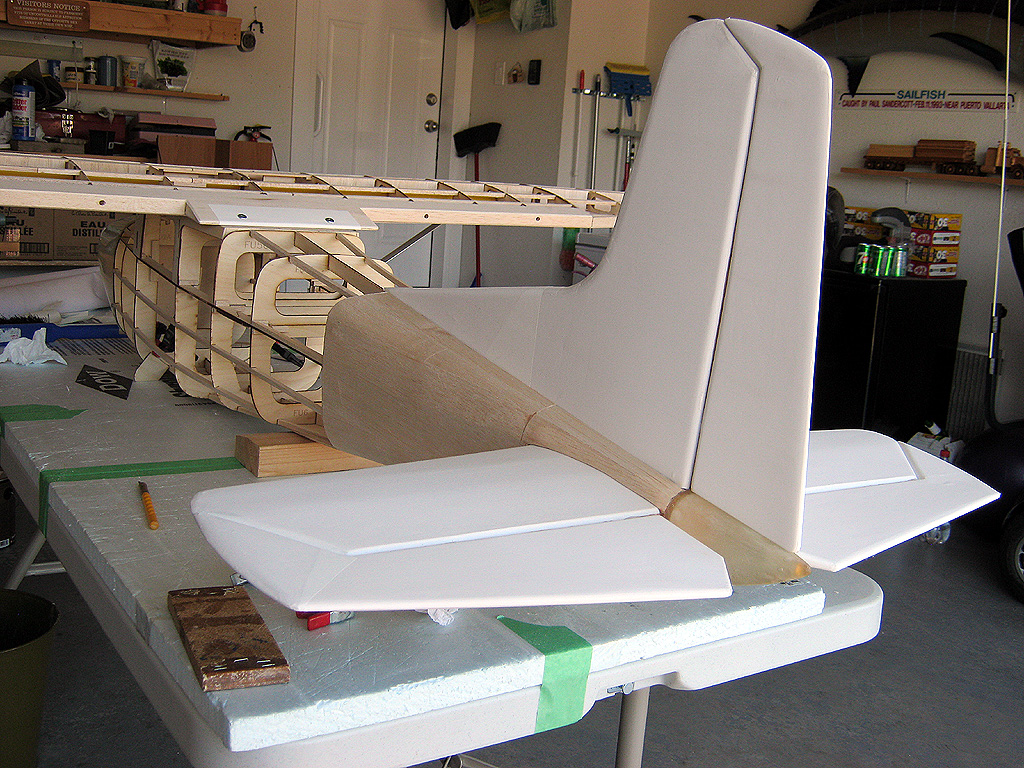
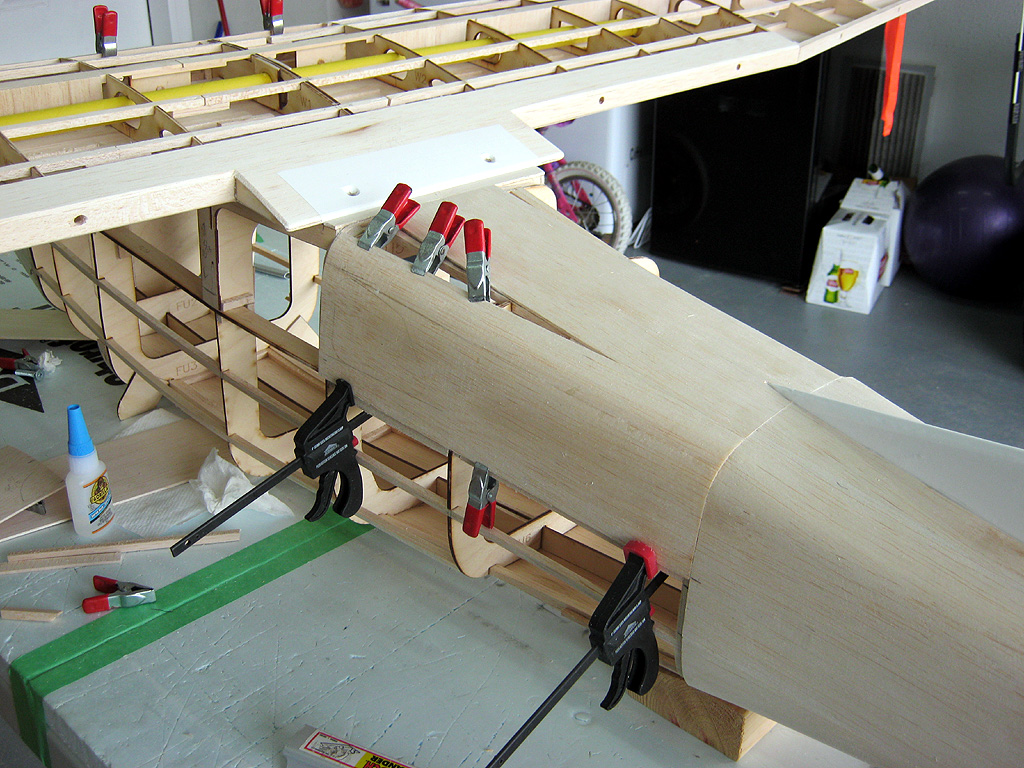
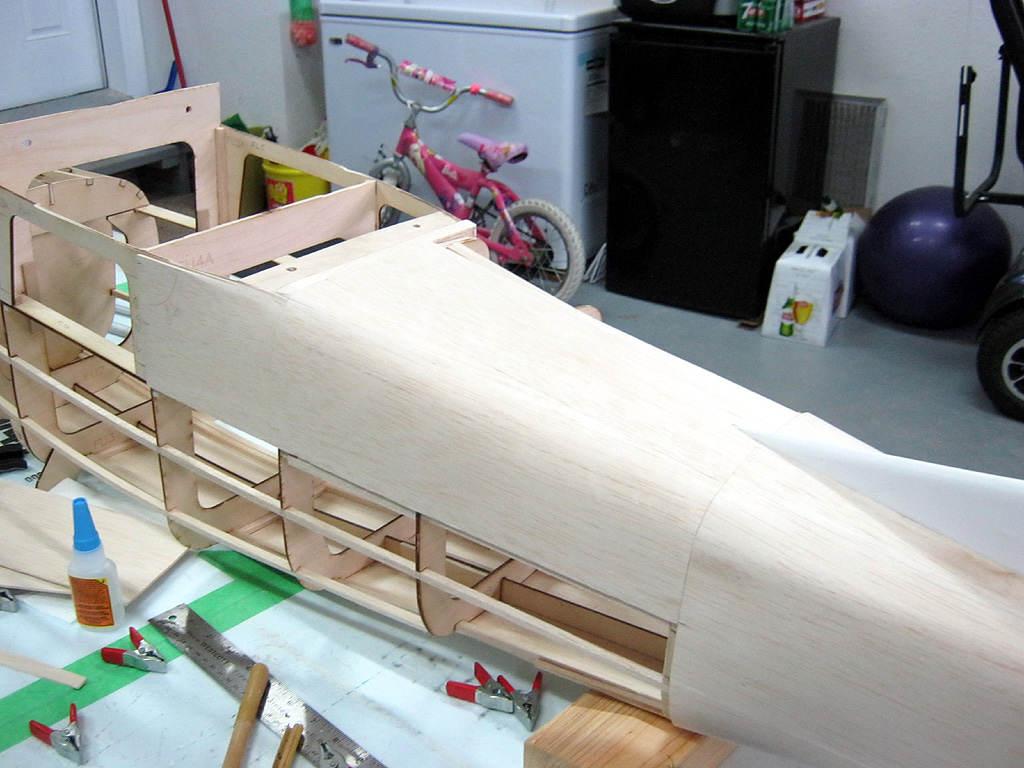
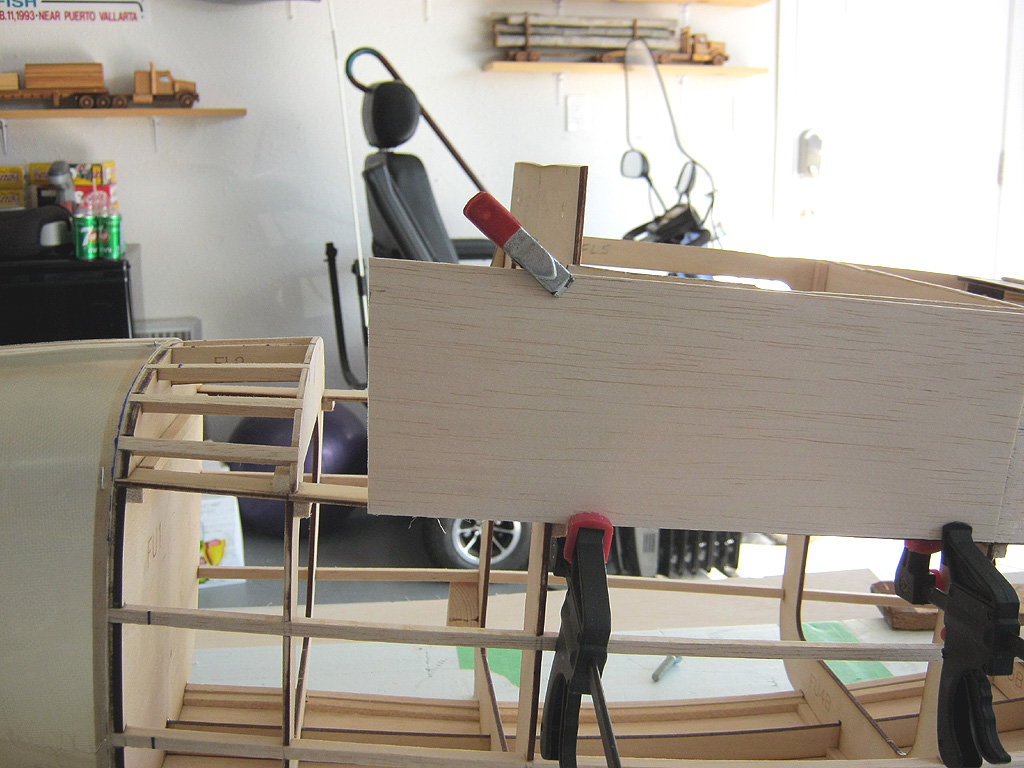
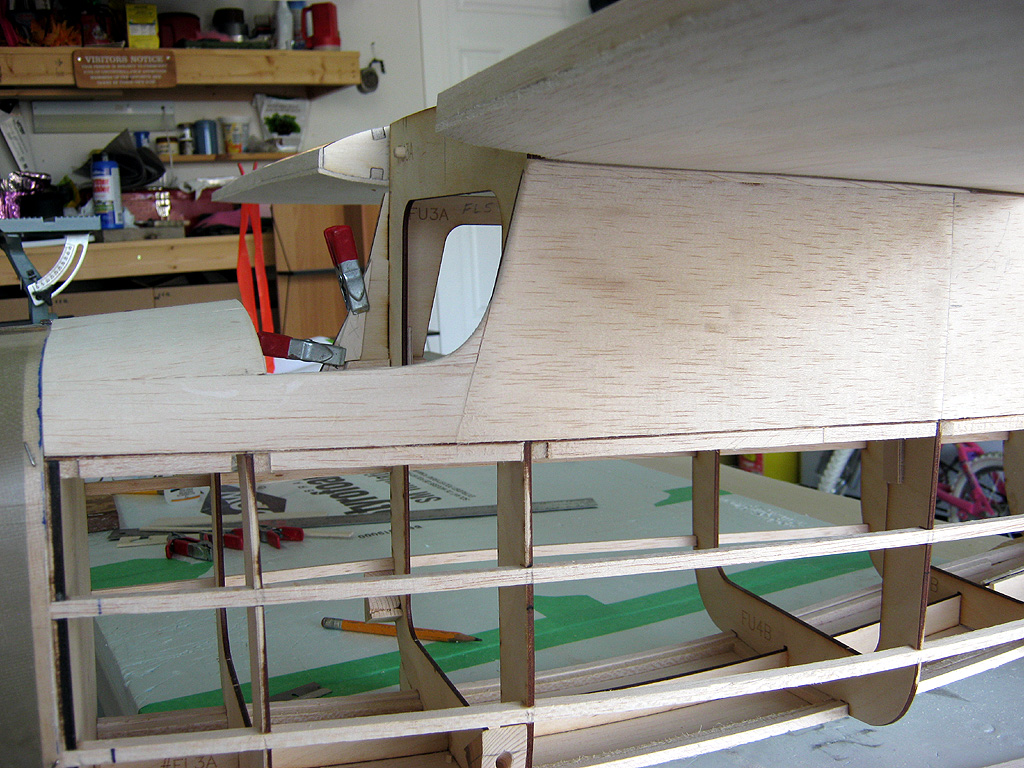
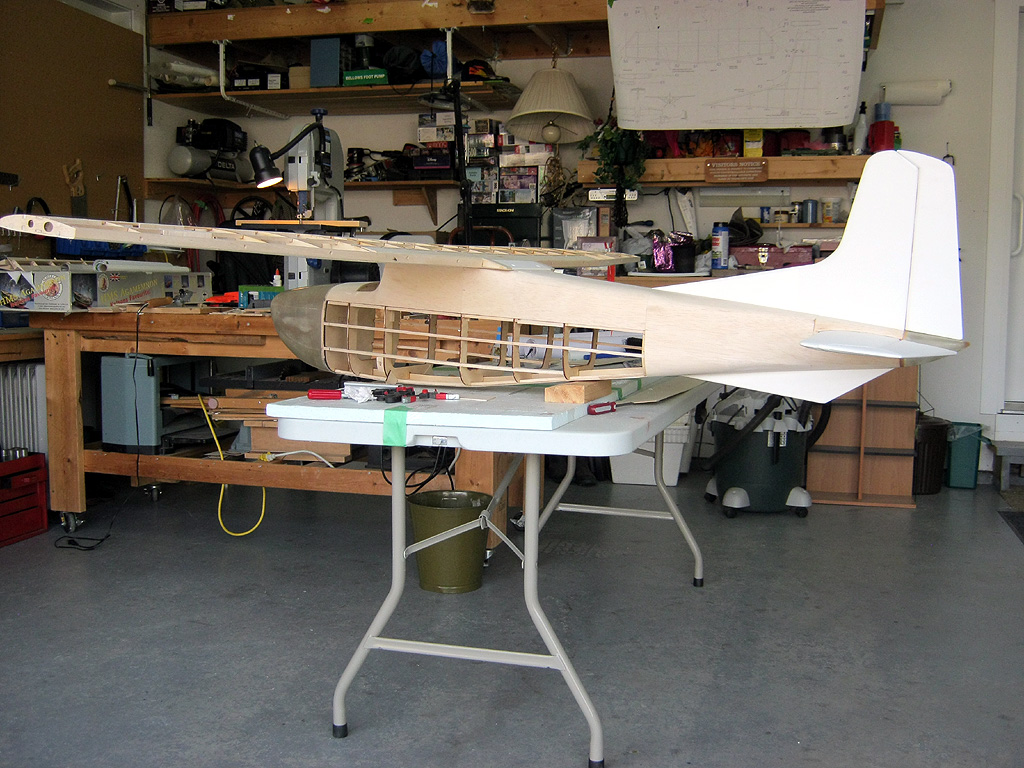
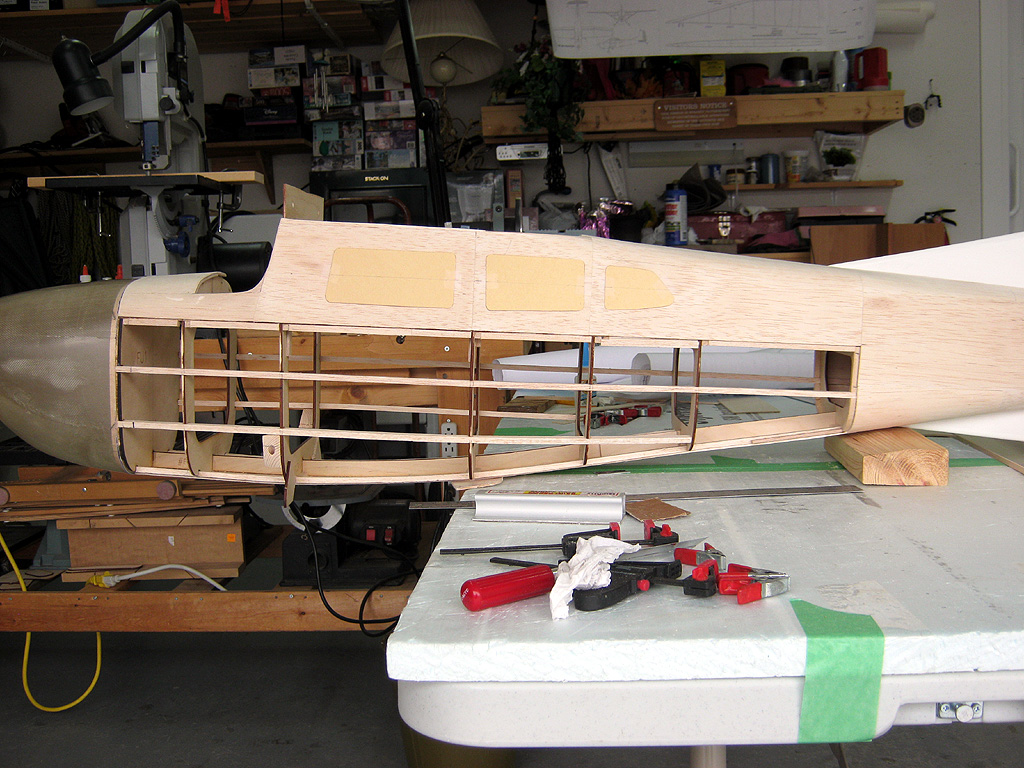
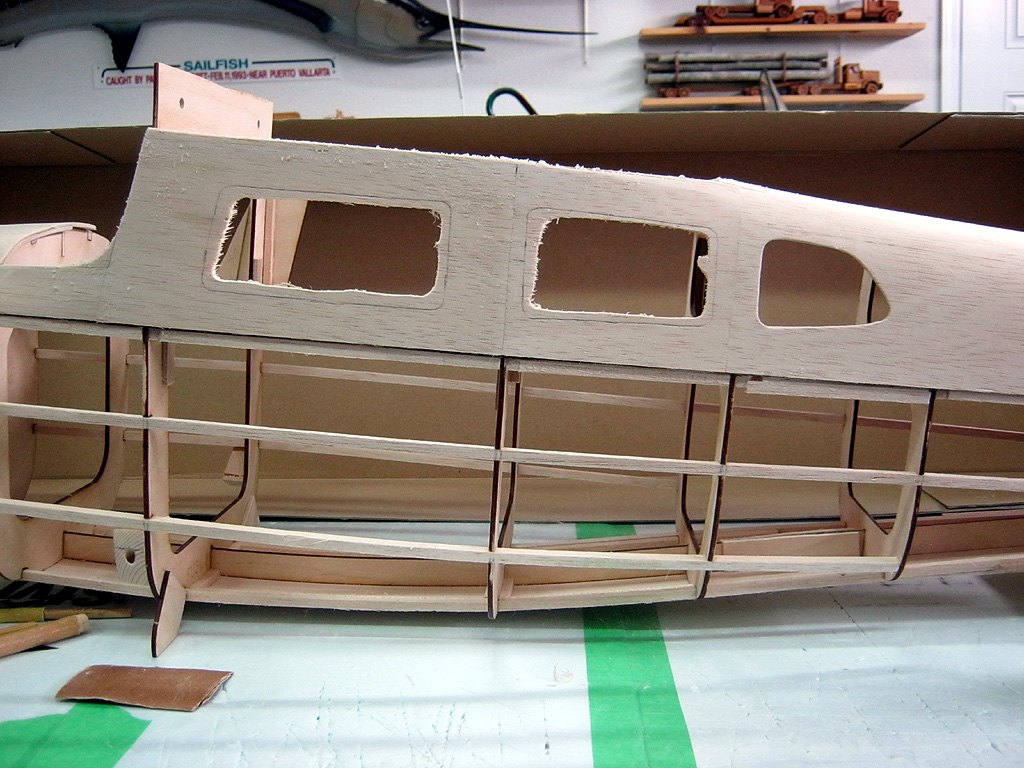
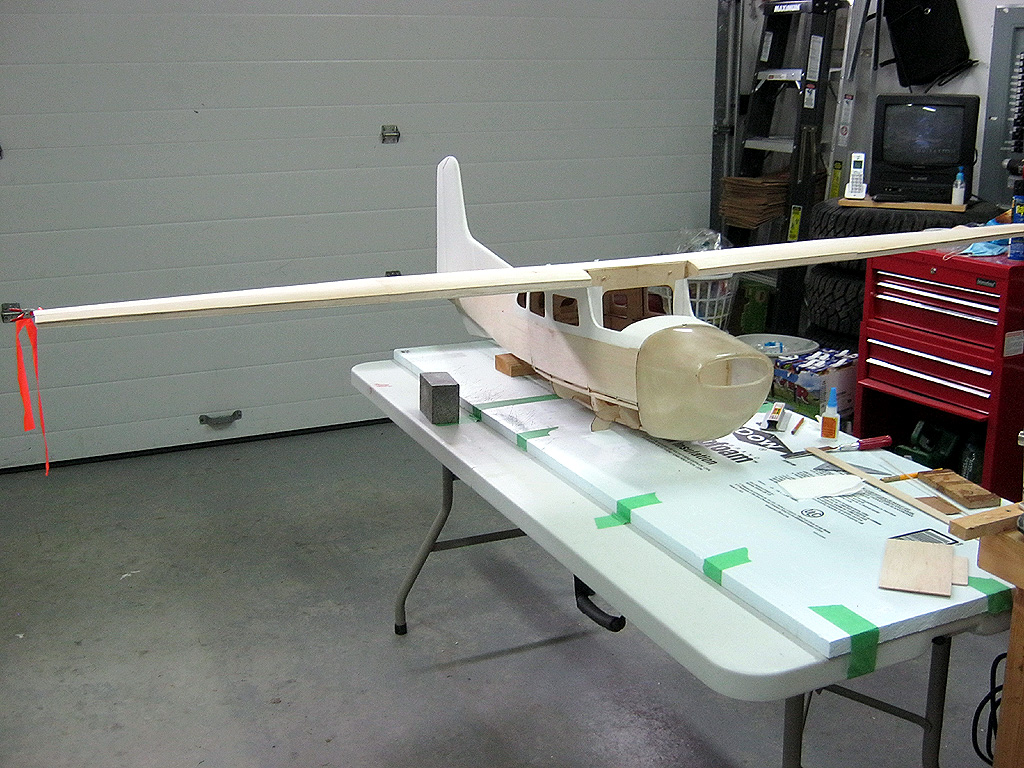
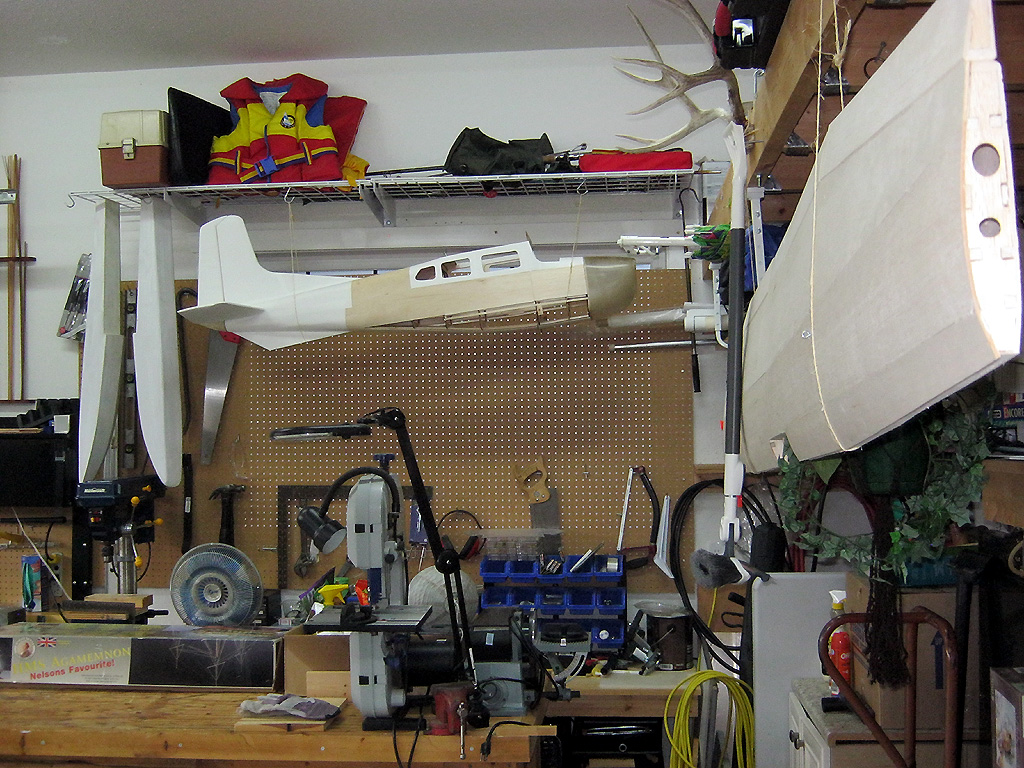
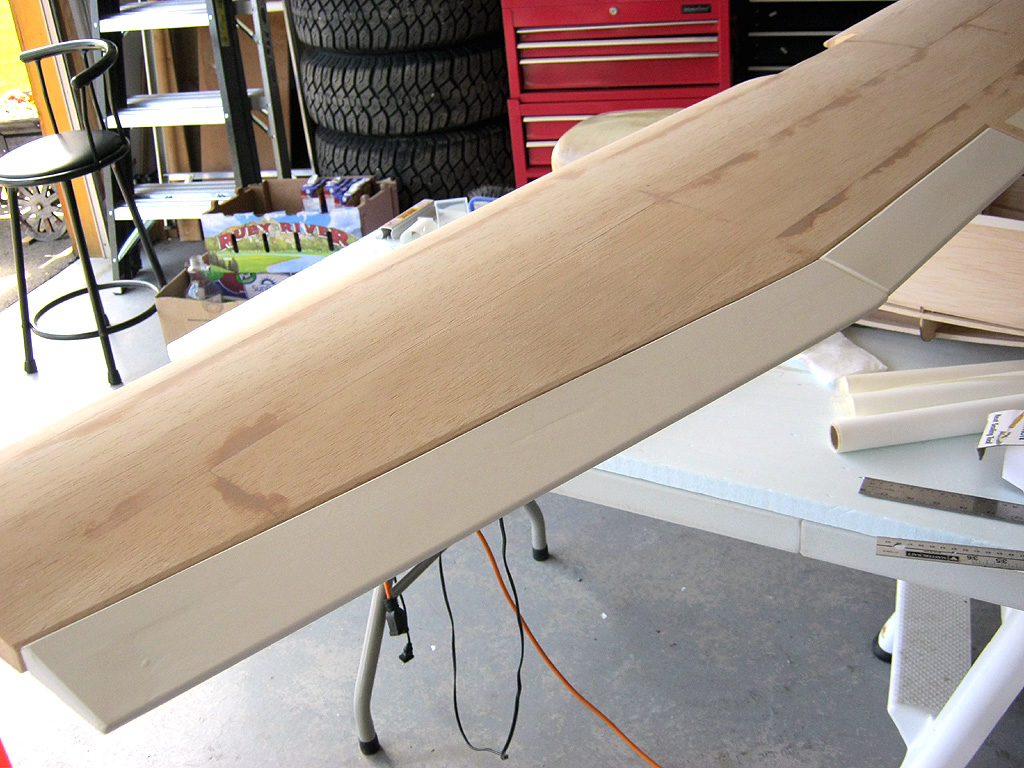
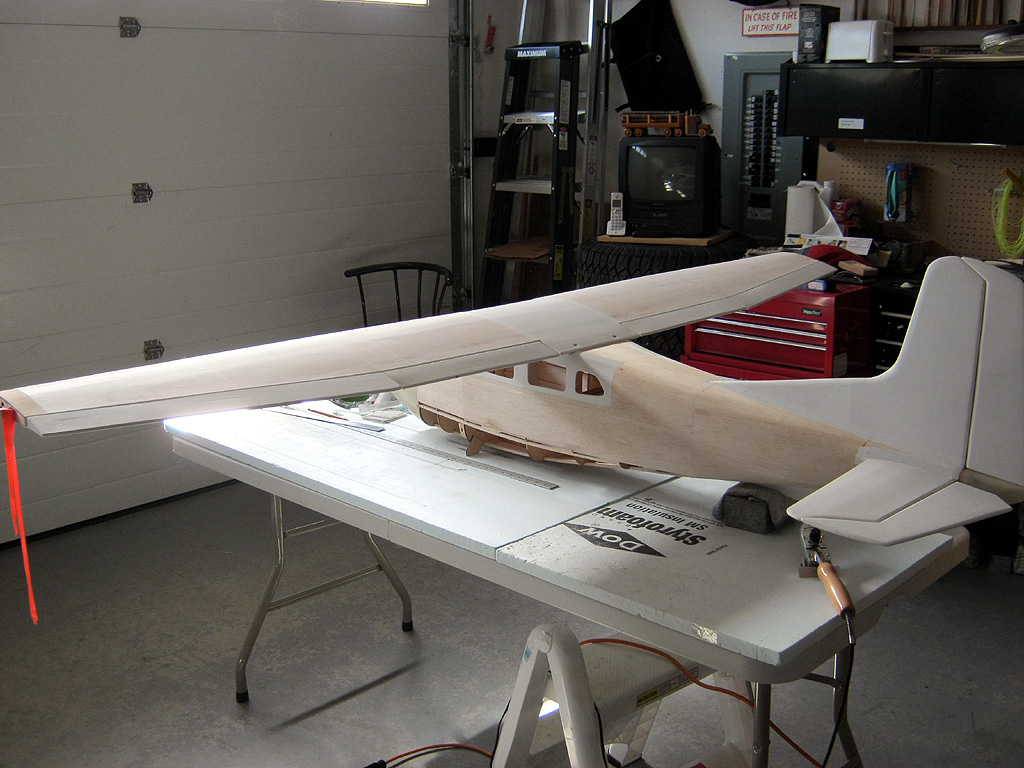
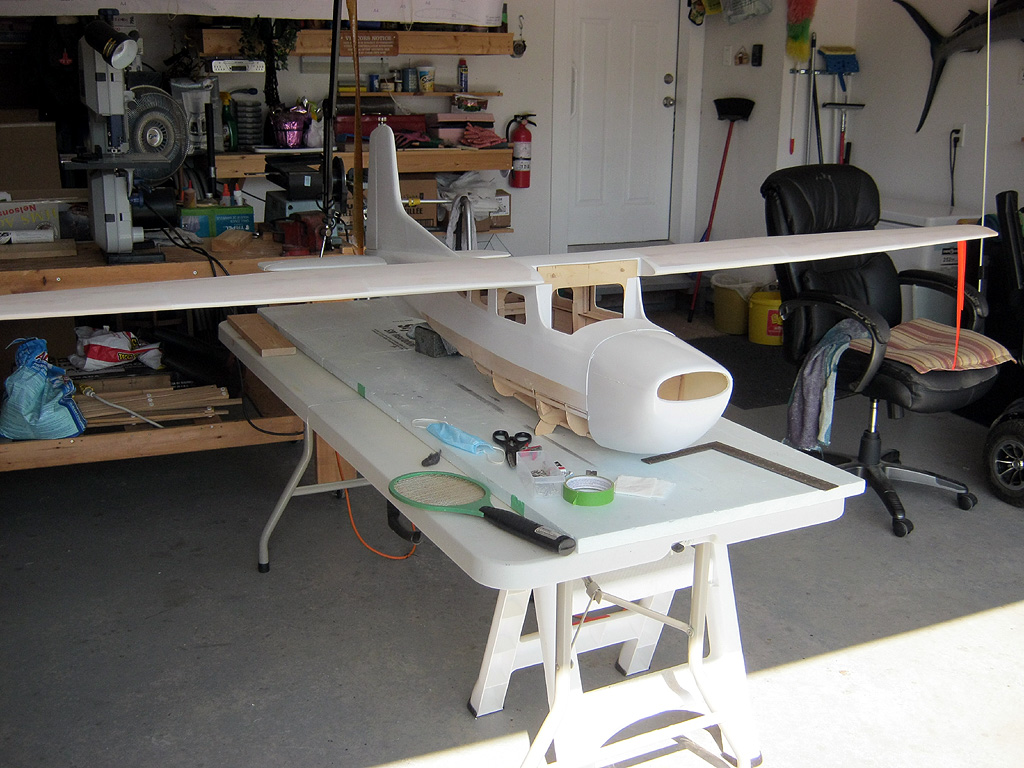
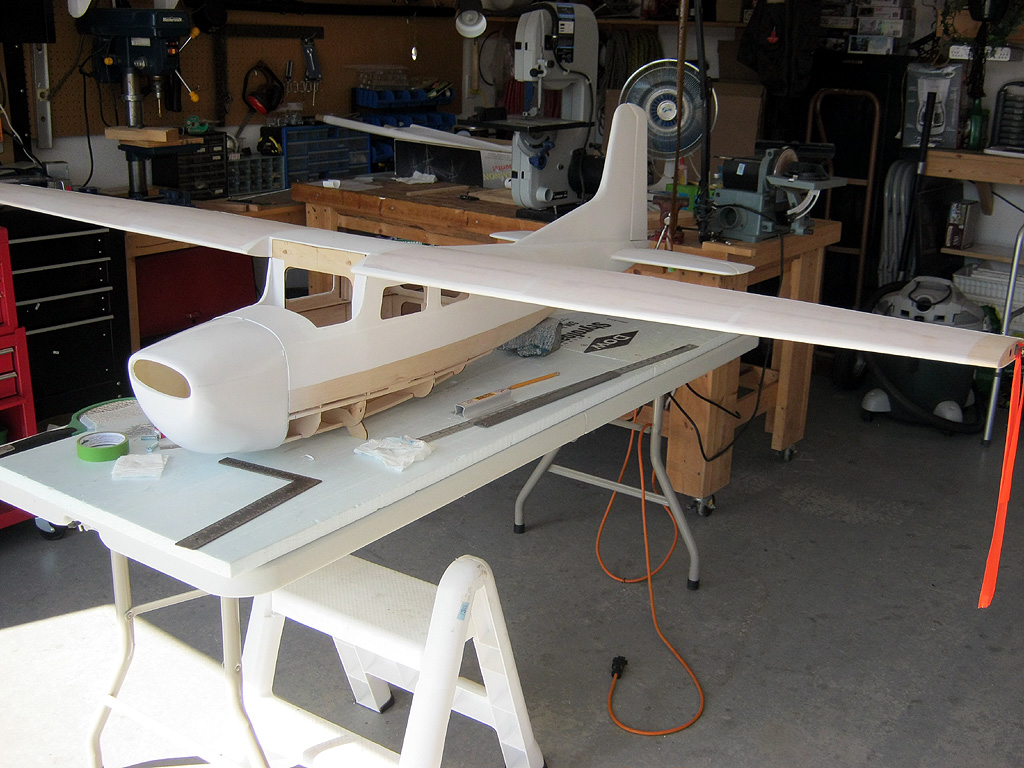
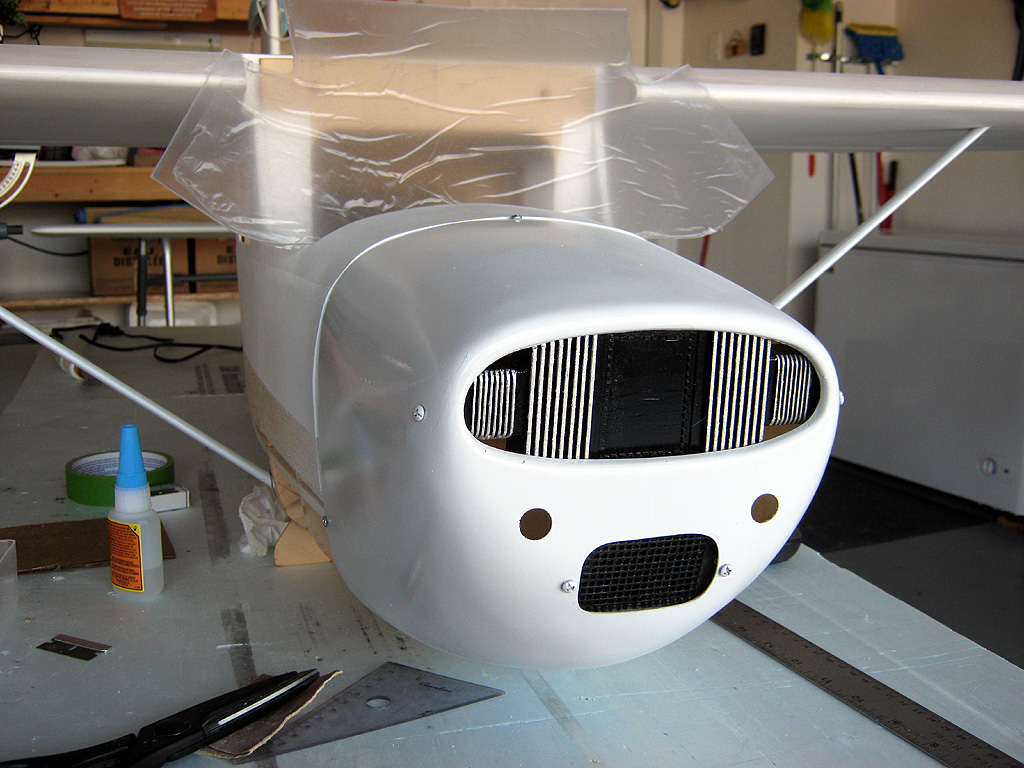
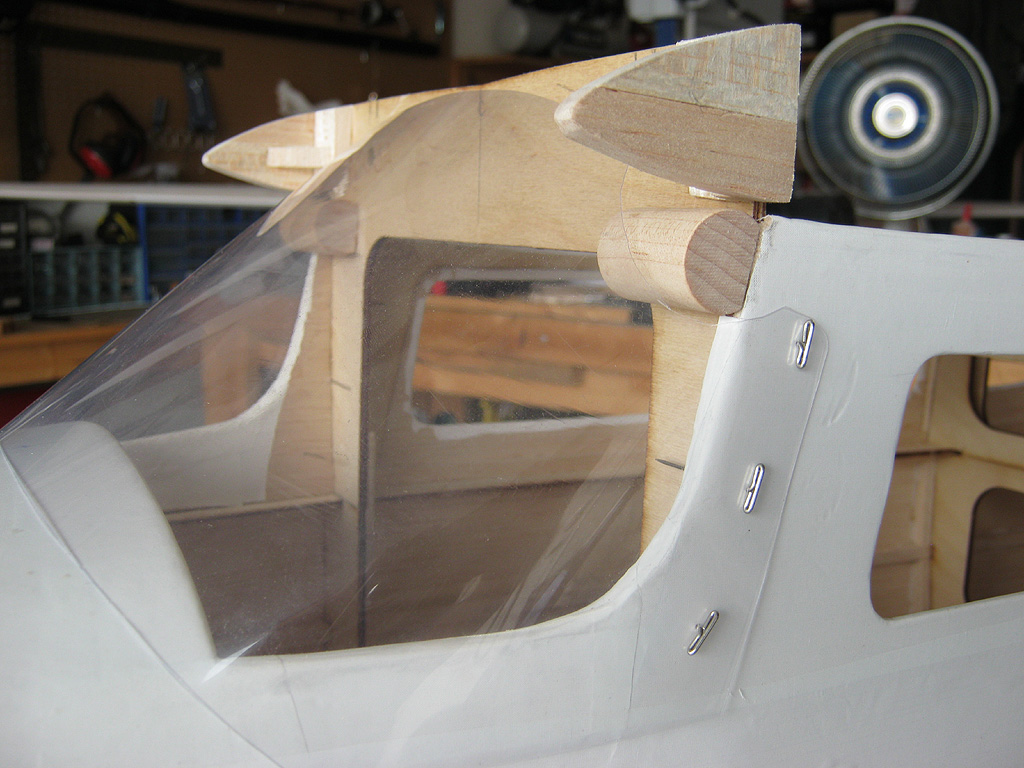
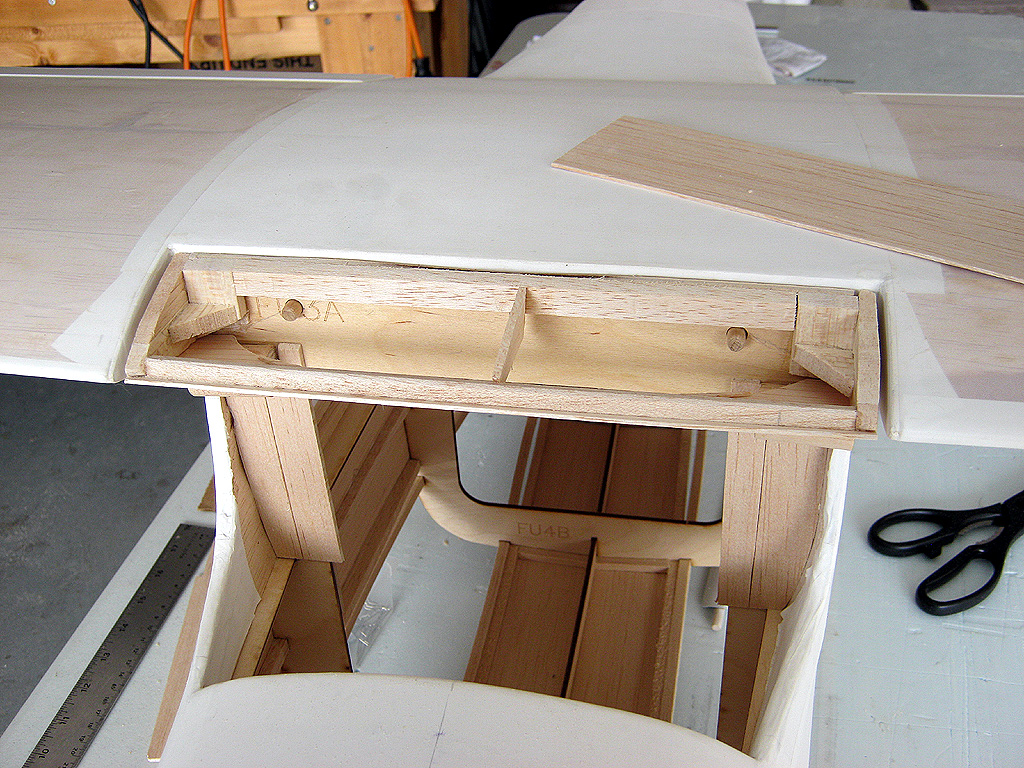
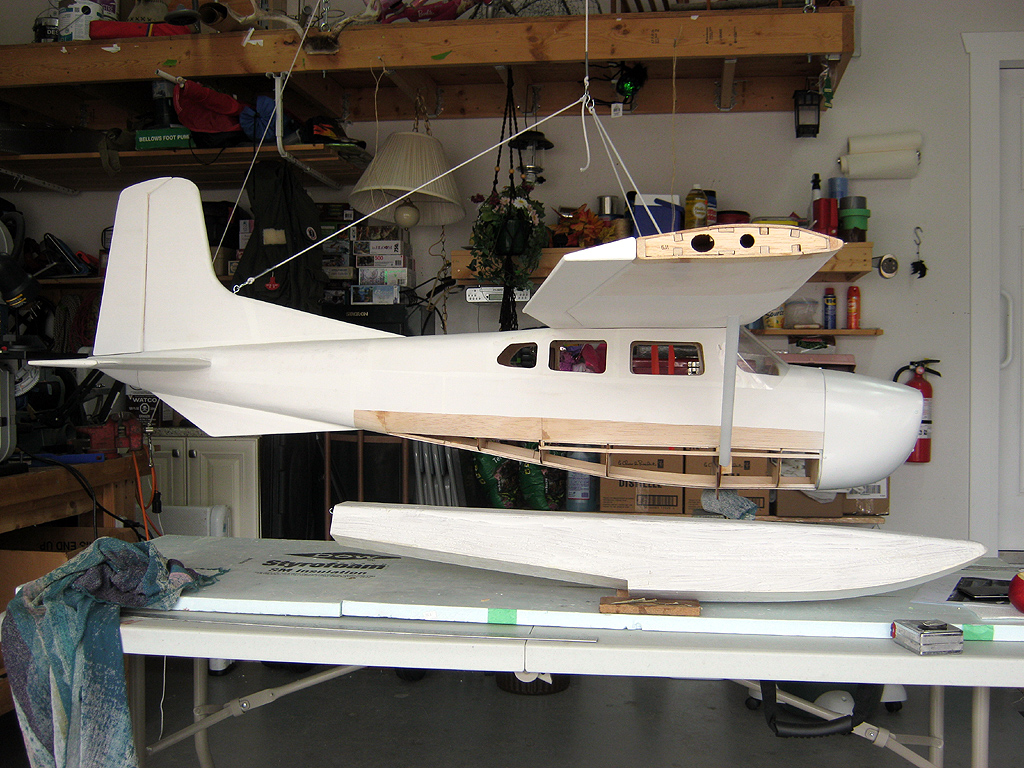
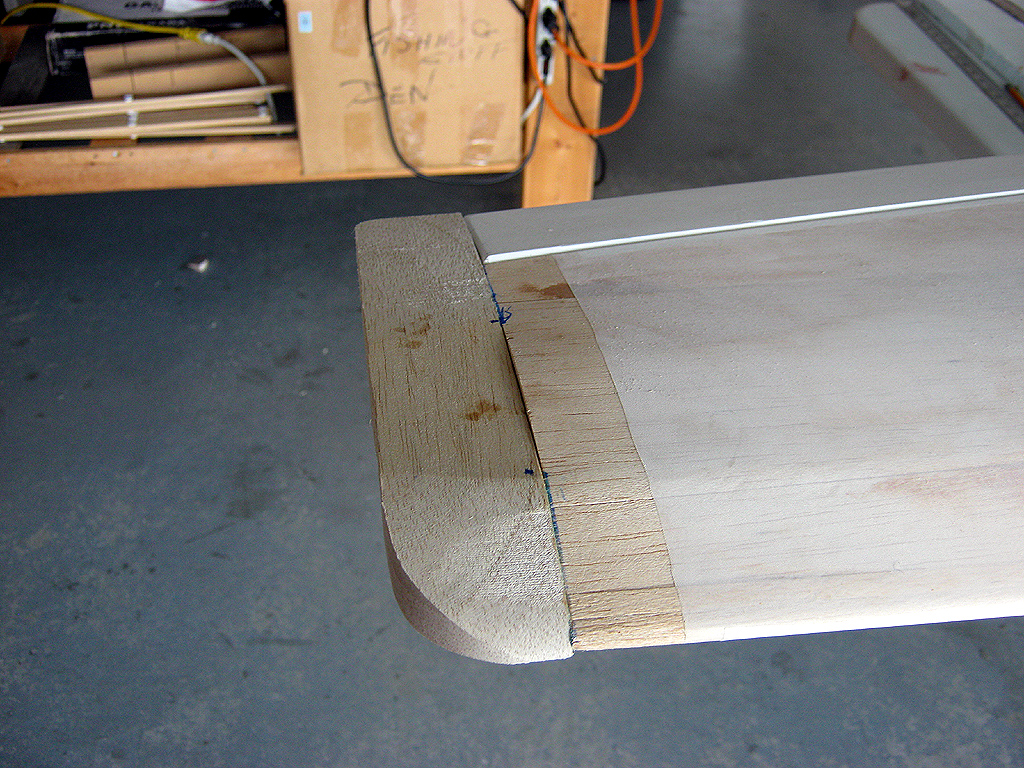
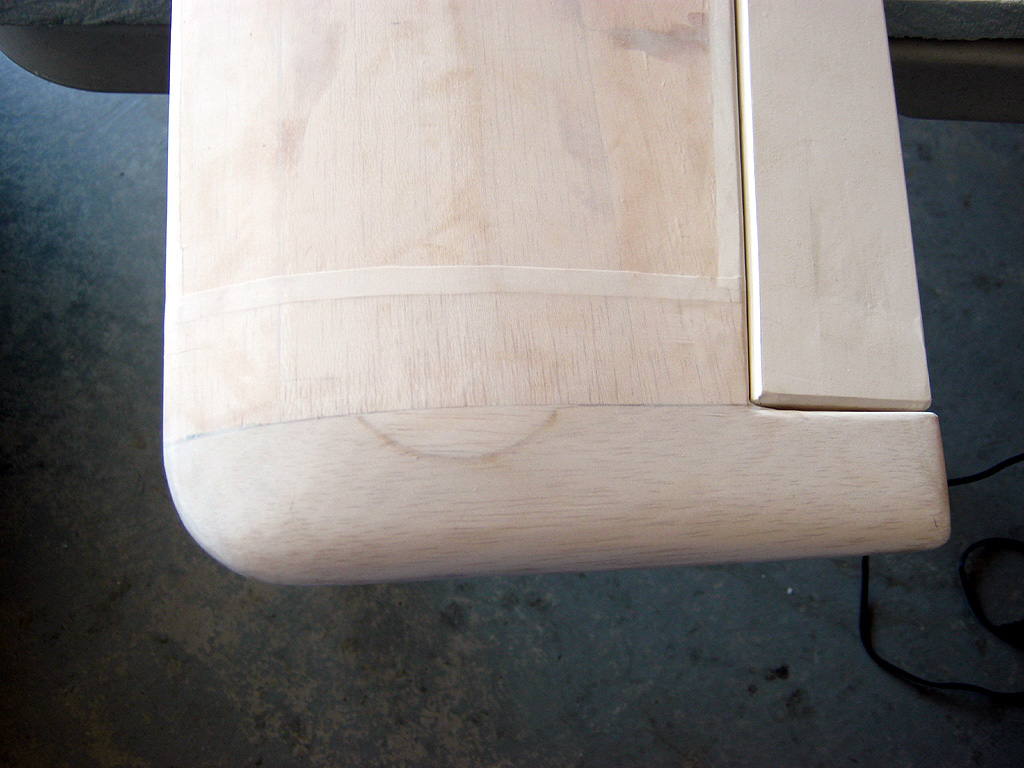
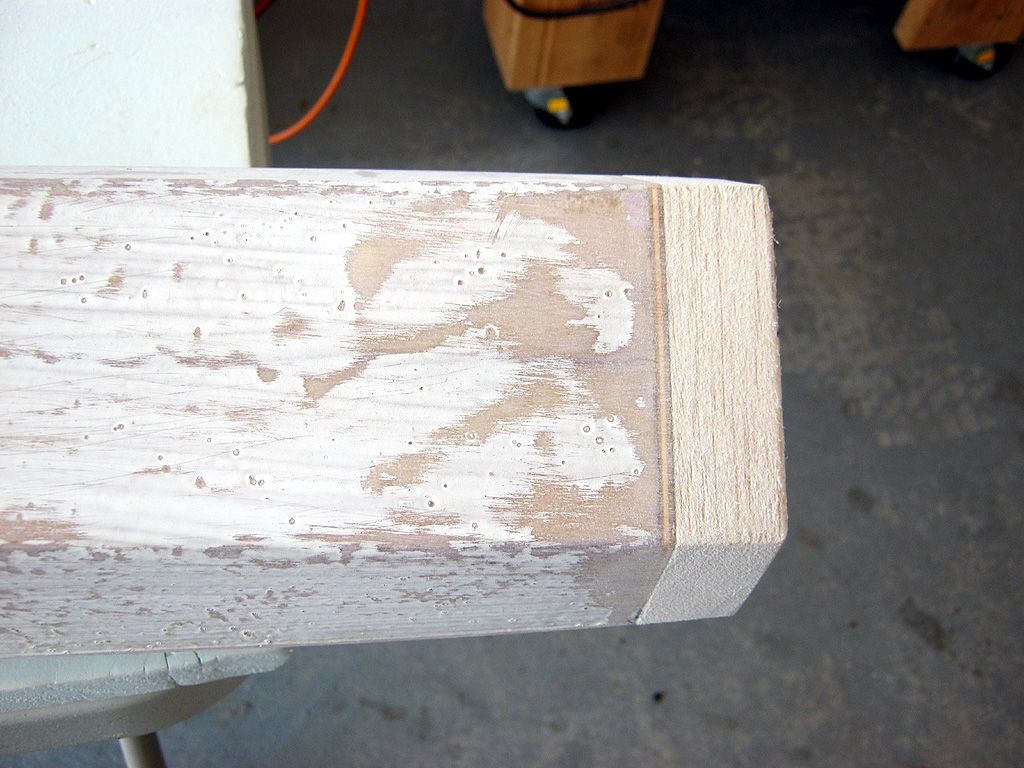
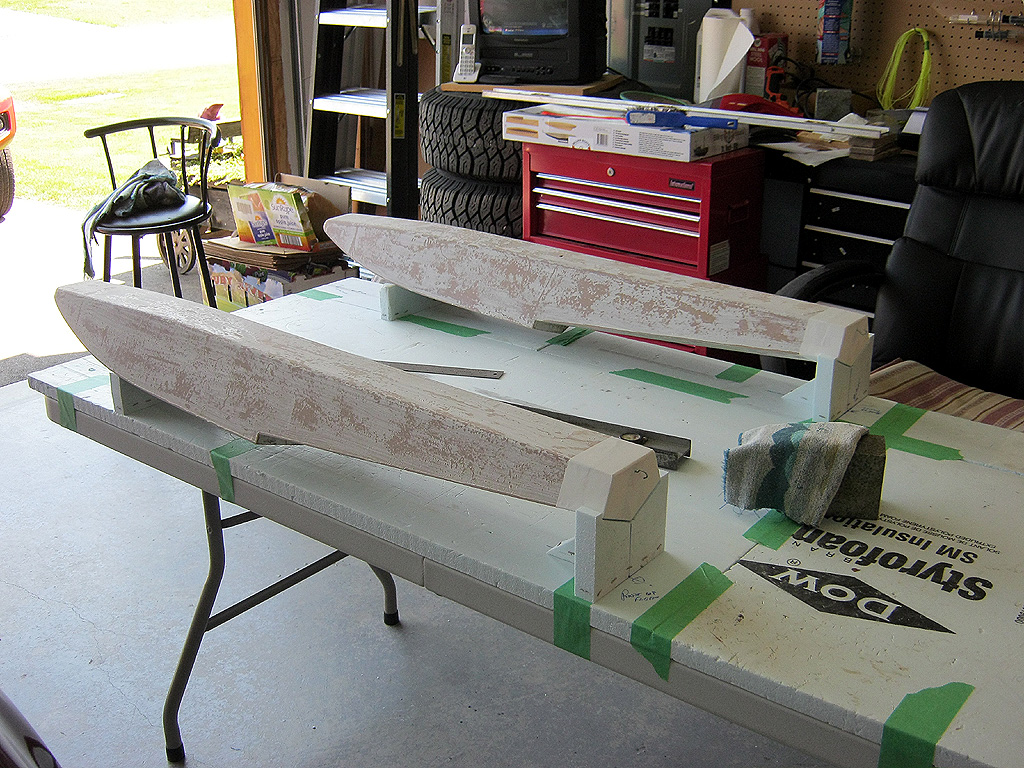
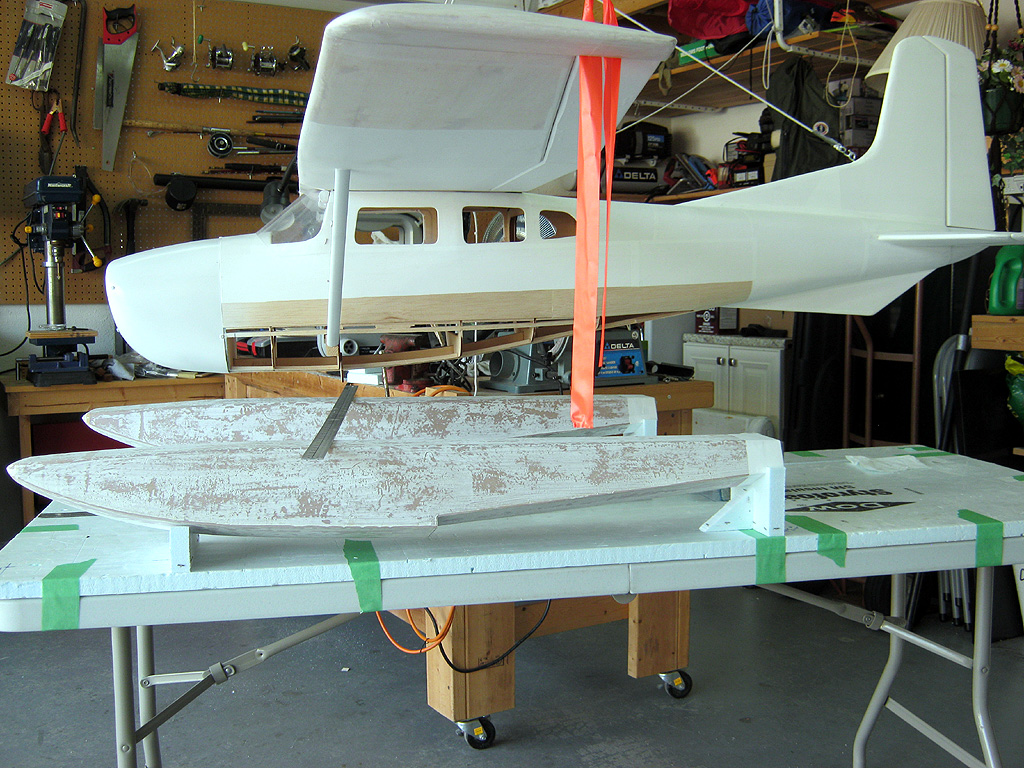
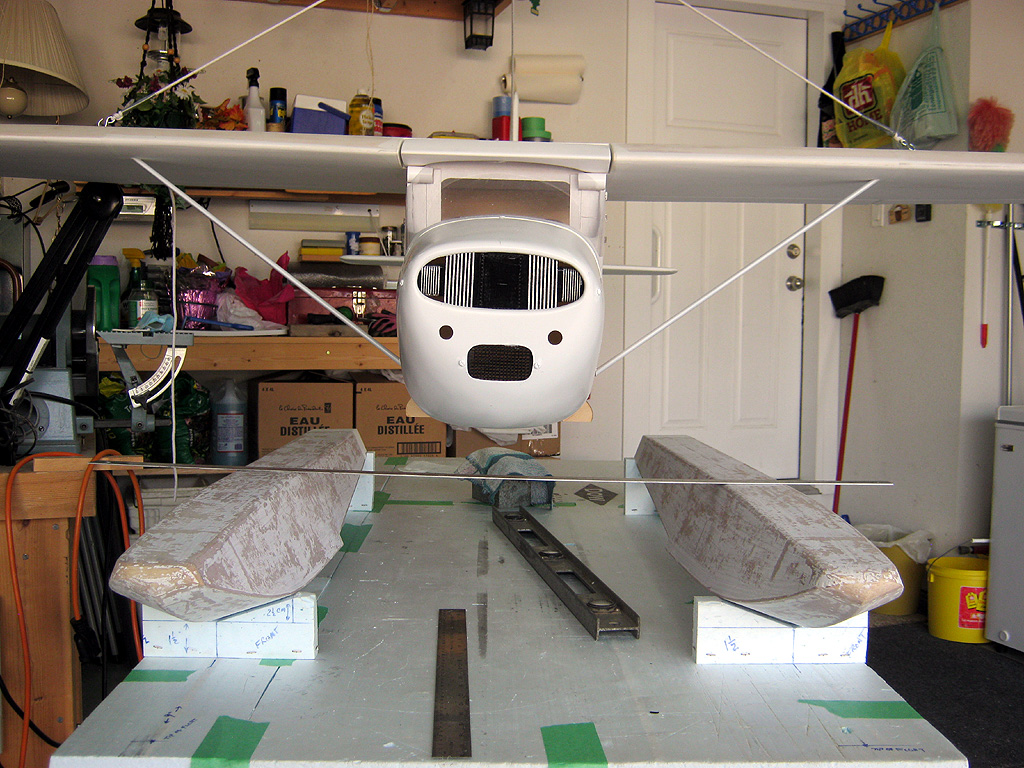
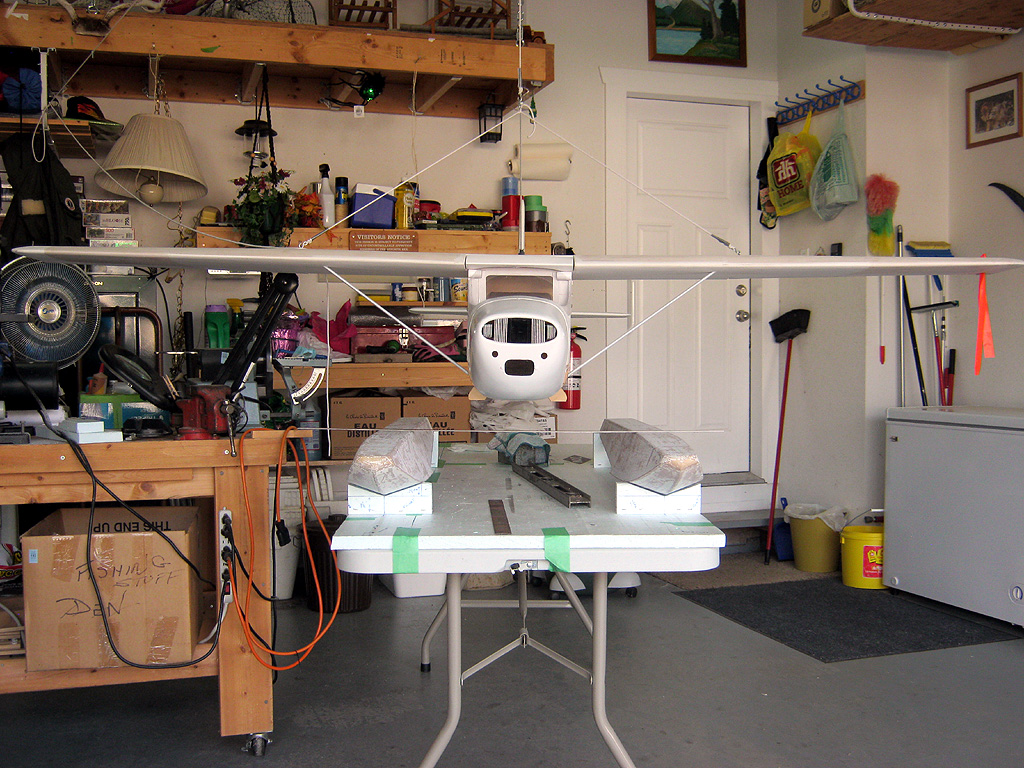
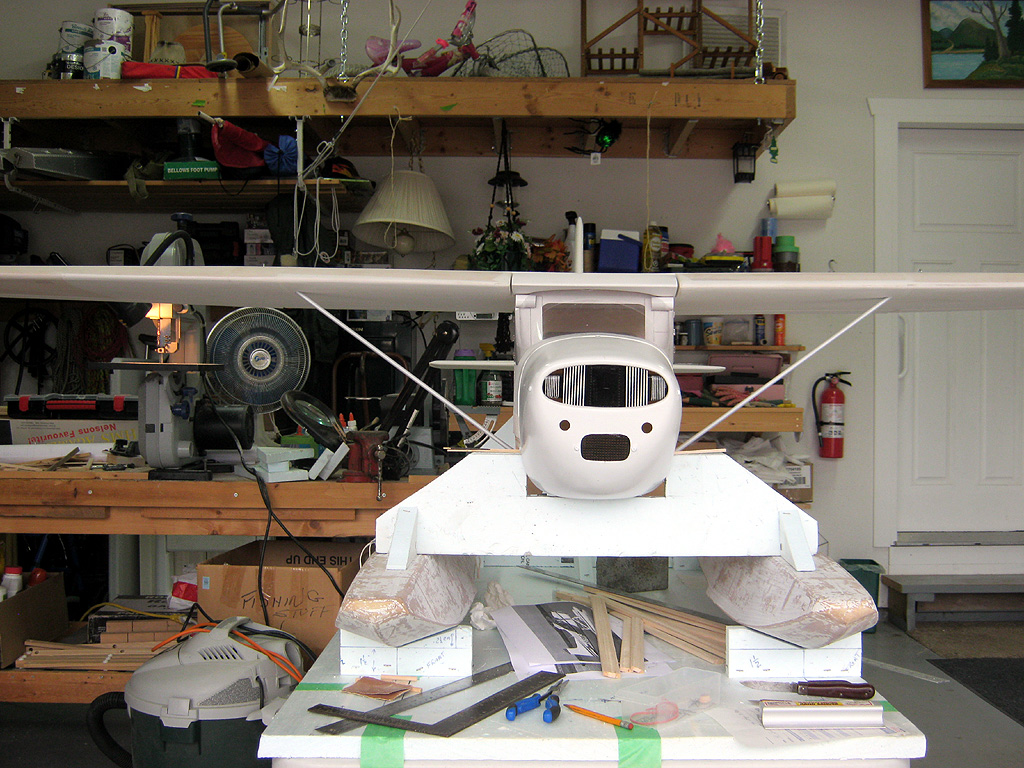
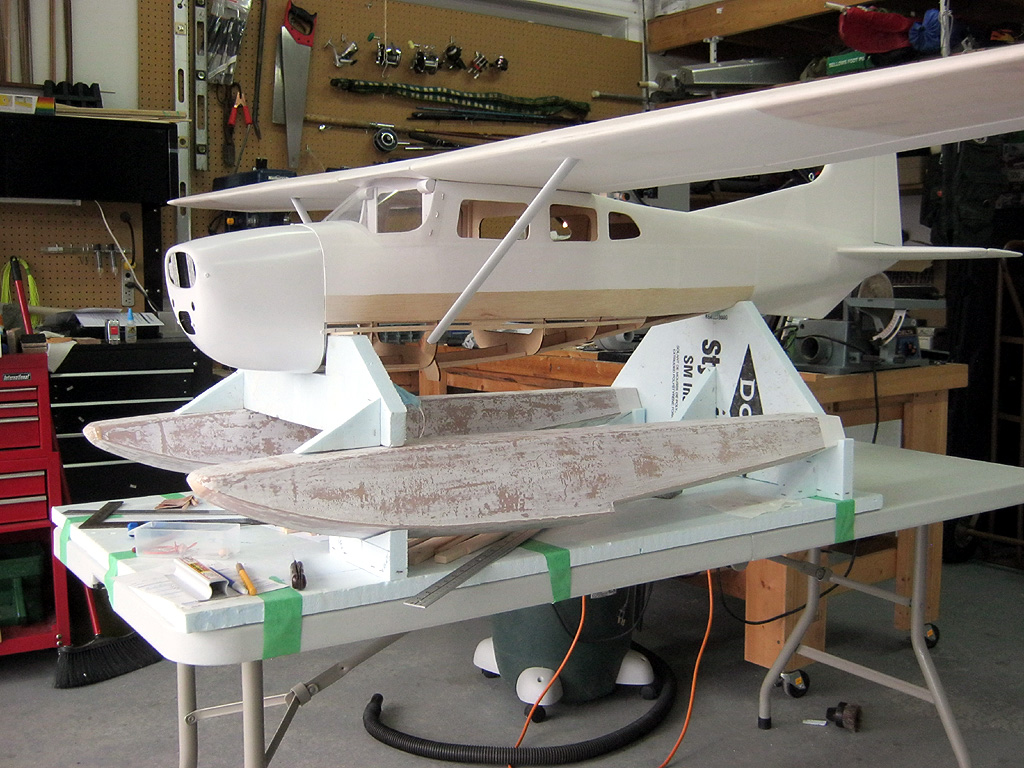
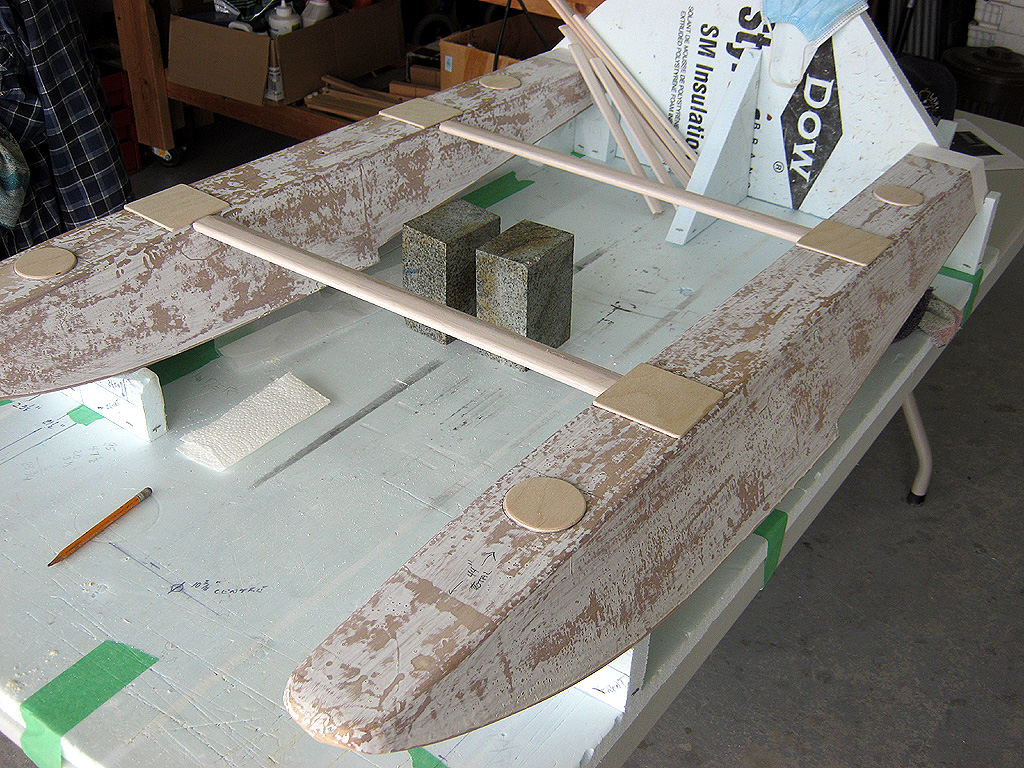
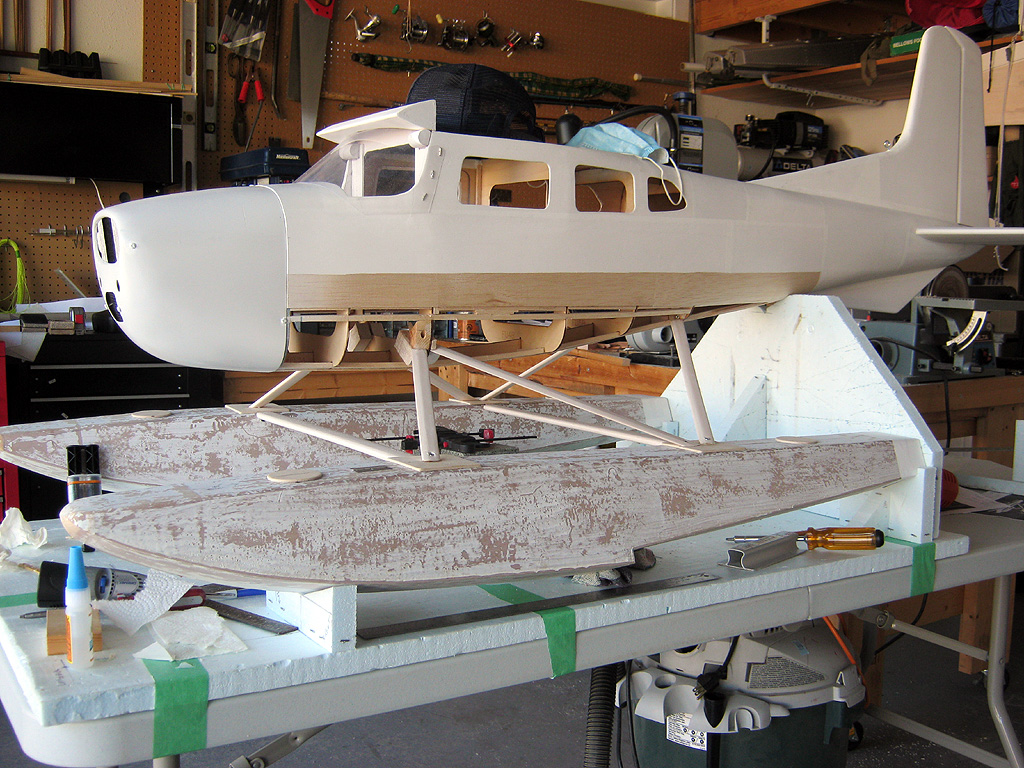
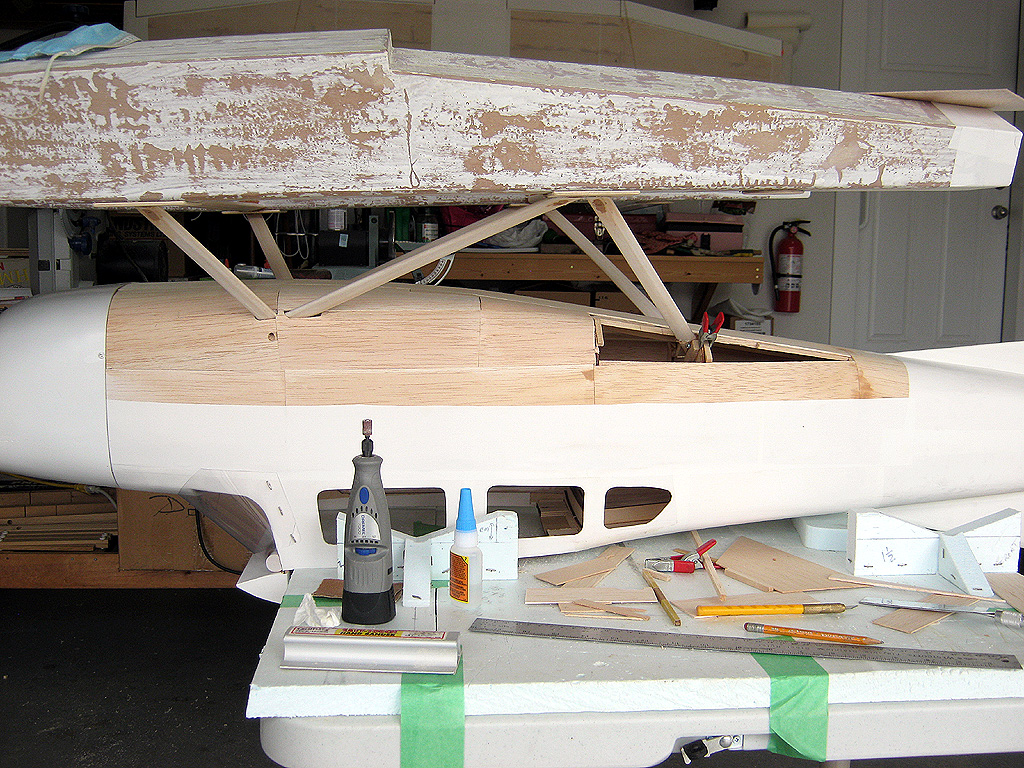
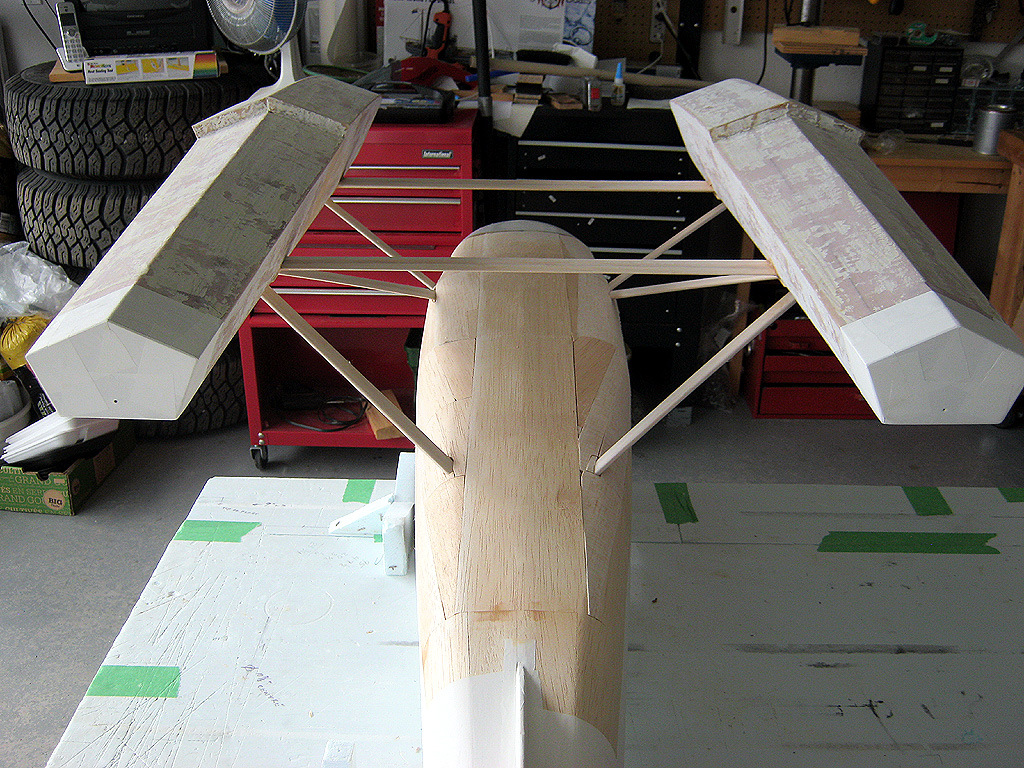
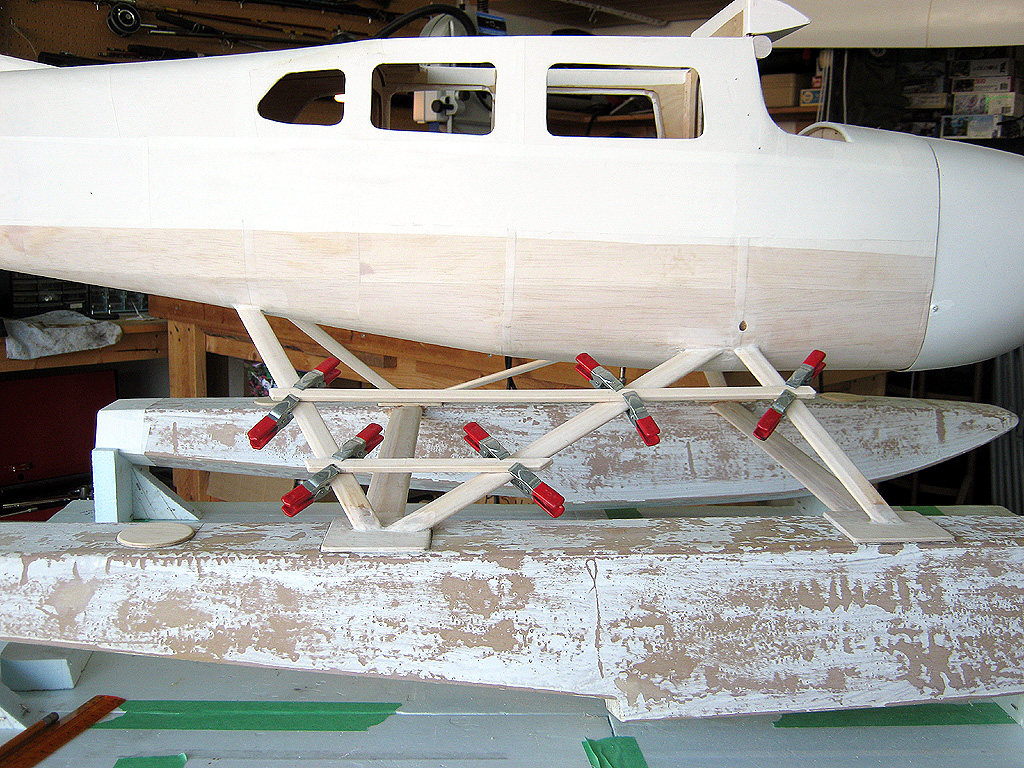
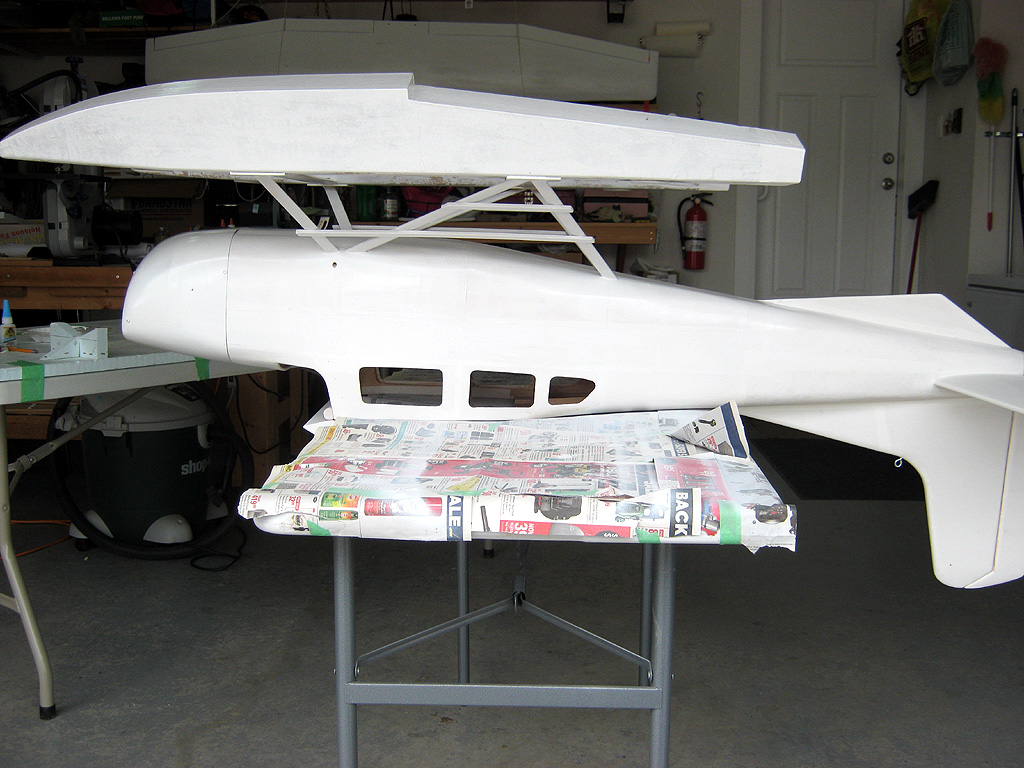
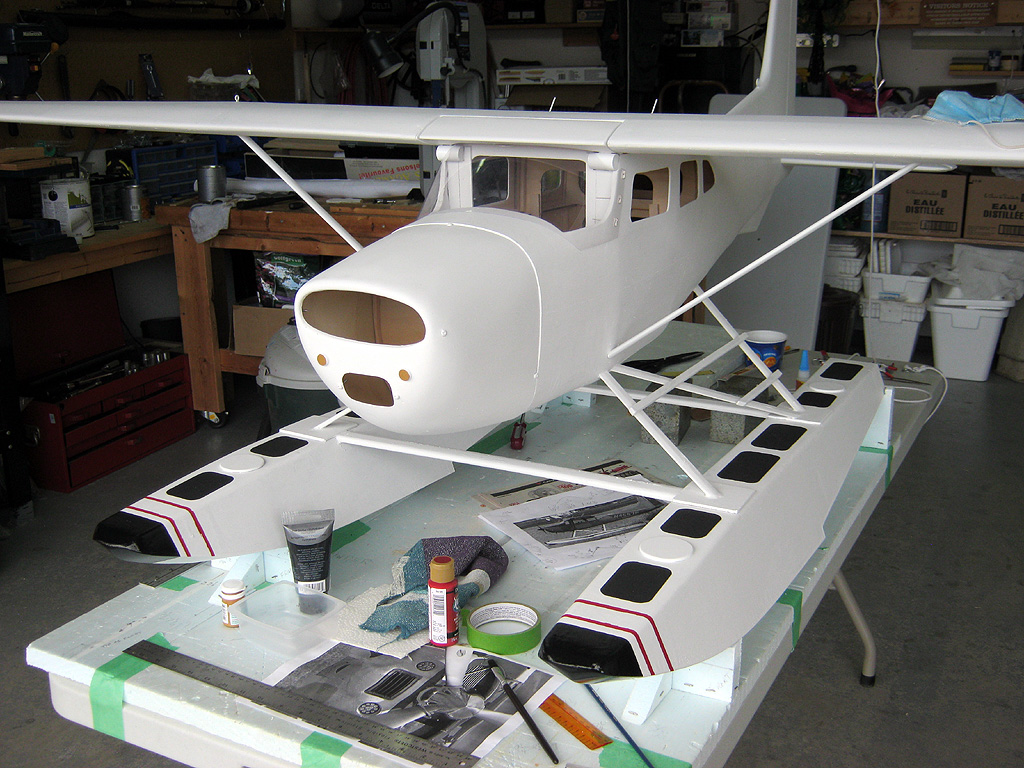
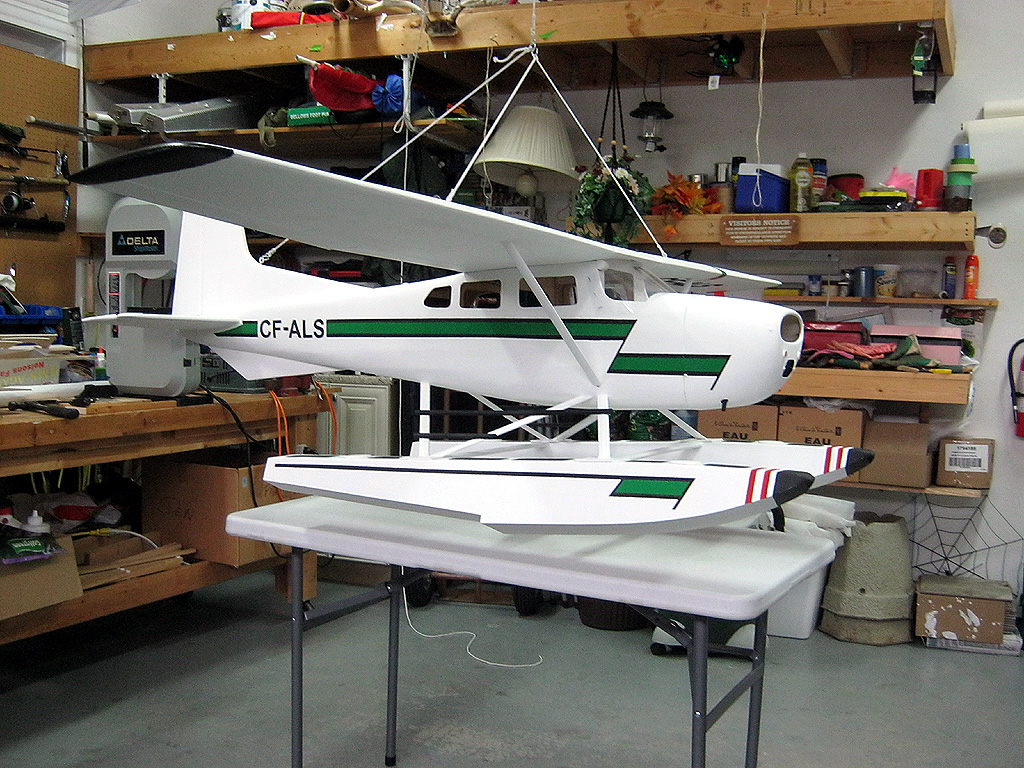
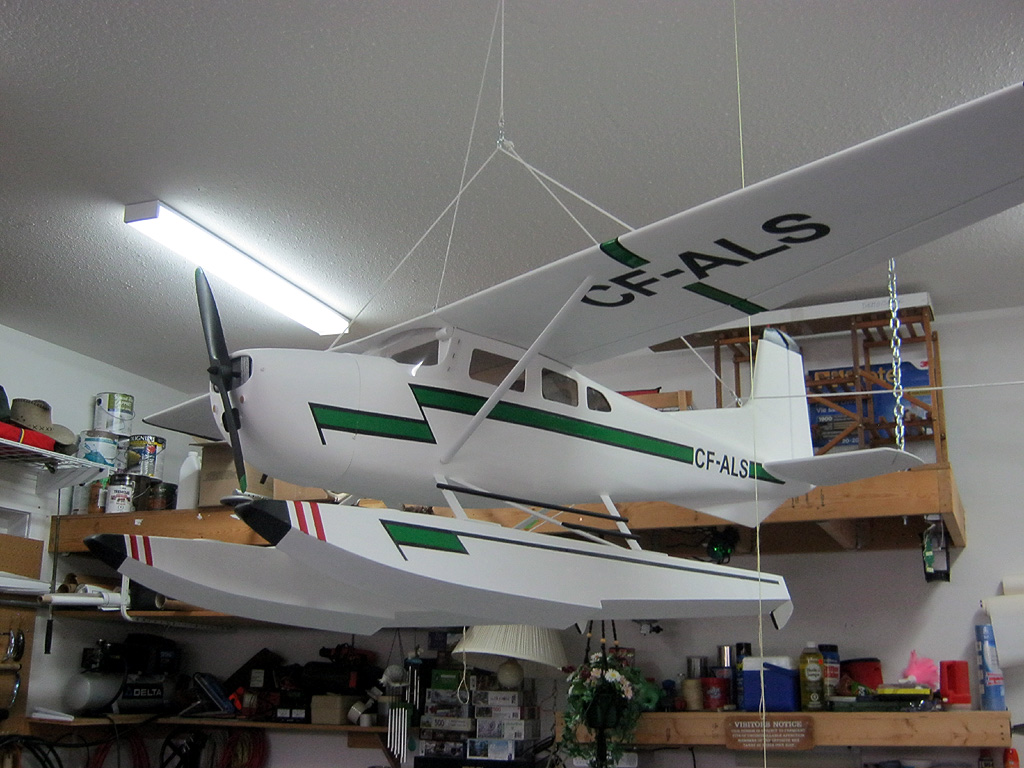
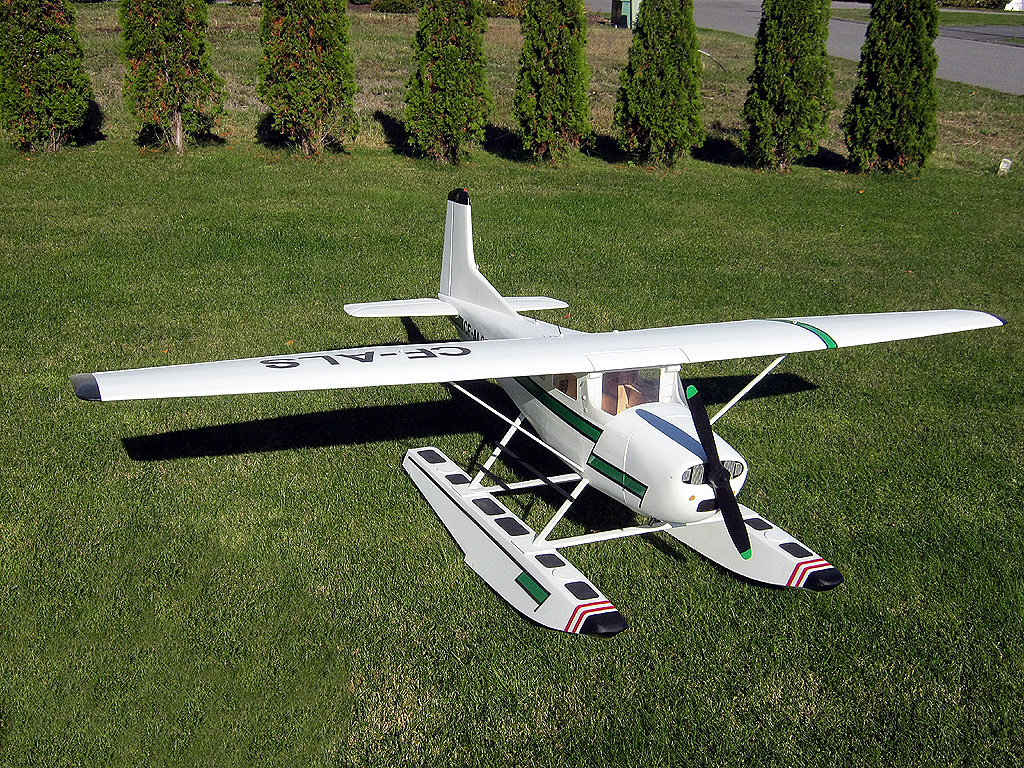
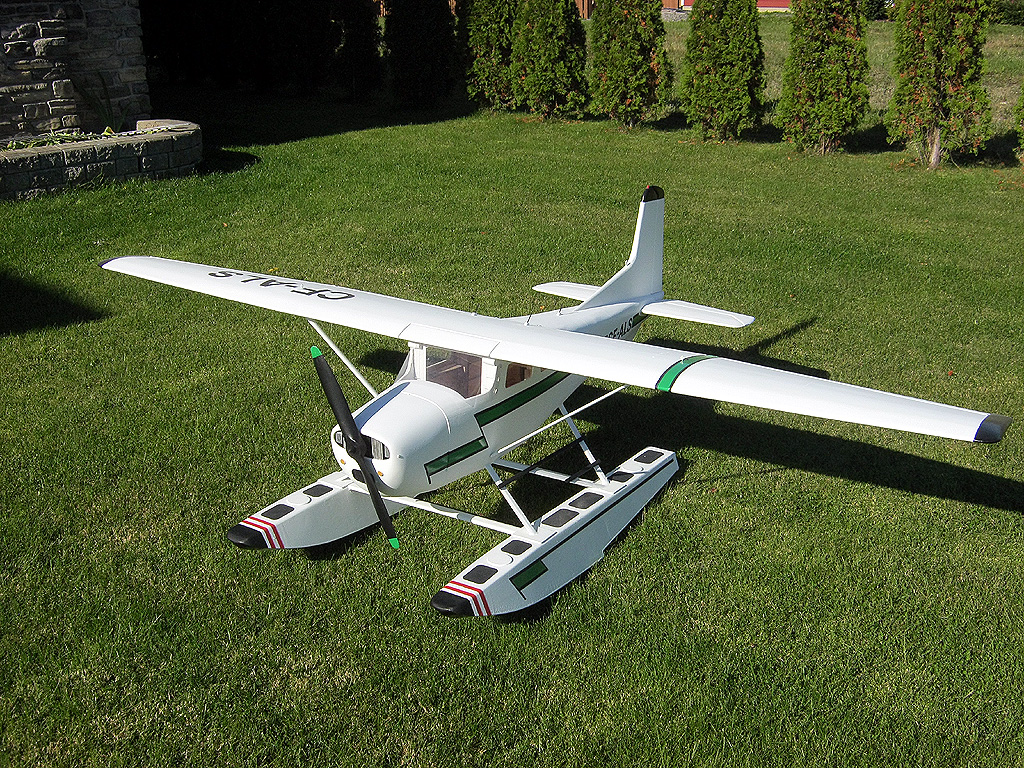
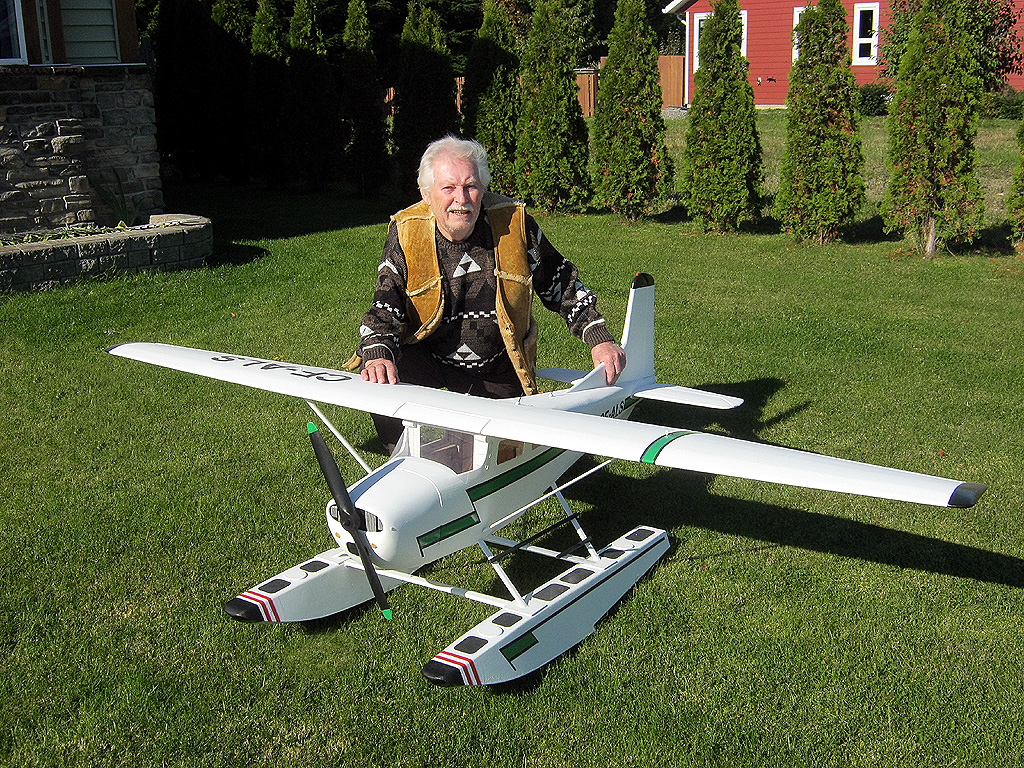
This build of a quarter scale Cessna 185 on floats with a wing span of 95" is destined to hang from the ceiling of my workshop. My flying days are over. I started with a partial kit from Martin Rousseau, www.mraerodesign.com from Quebec, Canada. I suspect this may well be my last build as my abilities fail with age.

Follow the construction below


Just wanted to make sure the fibreglass fits.


It'll never fly so the control surfaces are pinned.


Early problem; #7 ribs missing!!


Full eight foot wing in two pieces.


It'll never fly so the control surfaces are pinned.


A dry fit.


Installing wing struts.


I changed from a three piece wing to a one piece. Added a tube for strength.


Had to try my hand at fabric. It's been a while.


Wing bottom sheeted with 3/32".


Added a water fin underneath that was not called for. I just like the looks.


Locking in the stabilizer.


Not enough clamps :-)


A touch of epoxy for strength.


Oops ...


Now what????? The plan offers nothing!!


I'm thinking the windows should be fwd a bit??


Now I'm committed to size & location.


Too cold in the hanger. Time for winter storage.


Mid June and back on the bench working on the leading edges.


Wing leading edge.


Touch of putty to smooth things out.


Ailerons covered with fabric.


Wing covered with fabric.


Starting to look like a plane.


Dummy engine built & installed.


Windshield installed temporarily.


Windshield/wing leading edge construction.


Windshield installation complete.


Measuring up for floats.

Building the floats


Checking height above floats.


Adding wing tips.


Wing tips completed.


Float extentions added.


Cradle for thw floats.


Test views.


Test views.


Test views.


Fitting fuse to floats.


Spreader bars and spars constructed.


Core is basswood for strength, sides are balsa for shaping, then covered.


Spreader bars epoxied in place. Then a 1/4" dowel goes down into the float for strength.


Floats ready for installation.


She's up on her floats.


Sheeting the bottom of the fuse.


Sheeting finished. Now some sanding and then fabric.


Added some step rails.


Applying the primer coat of paint.


Now I can get carried away with the paint brush.


Time to call it finished . . .


Return to Airplane Menu Page


Webpage design & Maintenance by Alan A Sandercott
Terrace B.C. Canada


Email:   alan@sandercott.ca